URNIETA ORIGINAL DESIGNS — BUY FROM OFFICIAL CHANNELS ONLY
URNIETA / Land Cruiser 250 / Mudflap For Prado LC250
SKU · 701050 Featured
LC250 · Mudflap

Mudflap
For Prado LC250

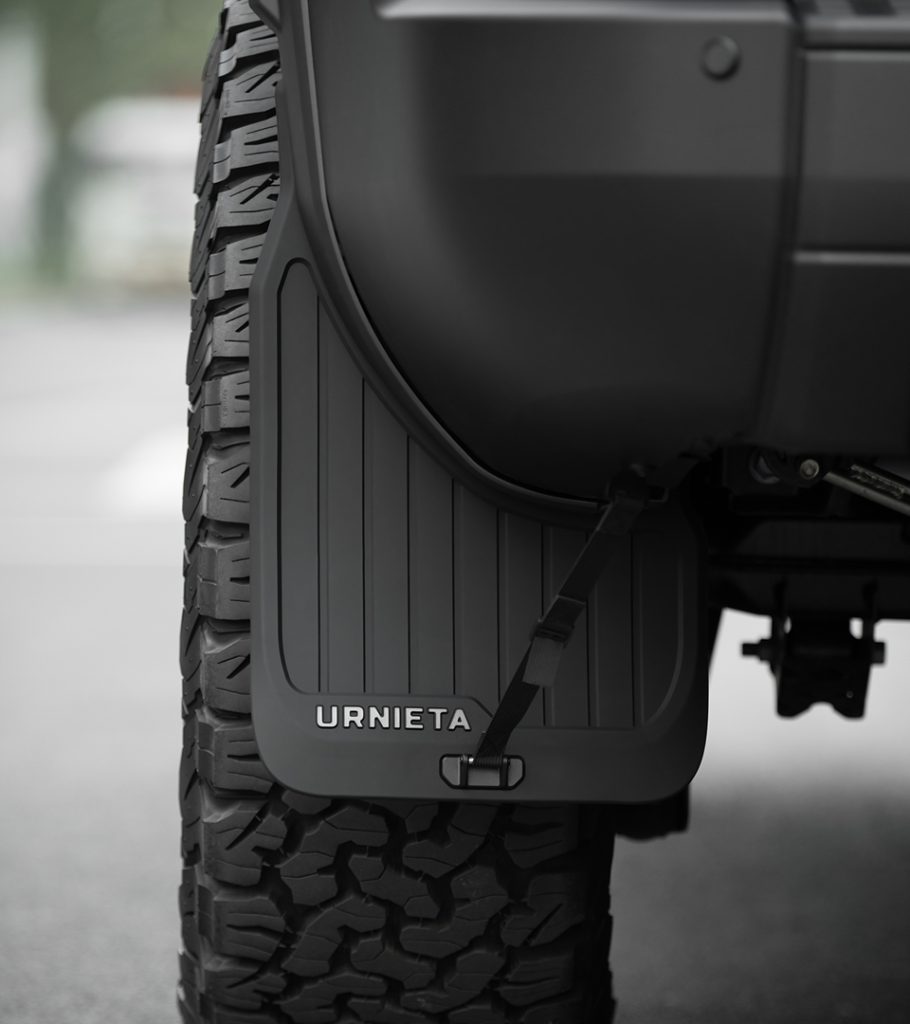
Upgrade your Land Cruiser with our premium mudguard kit, engineered for durability, style, and performance in any terrain.

Compat. 01LC250
01
Design Notes

Why this part
exists.

Mudflaps are the part of the truck most people get wrong first.

They're the smallest accessory on the build sheet, the cheapest line item, the one most owners delegate to whatever fits and ships fastest. And then the truck gets photographed — and the mismatched flap angle, the wavy trailing edge, the cheap rubber already curling after one summer — quietly drags the entire build down.
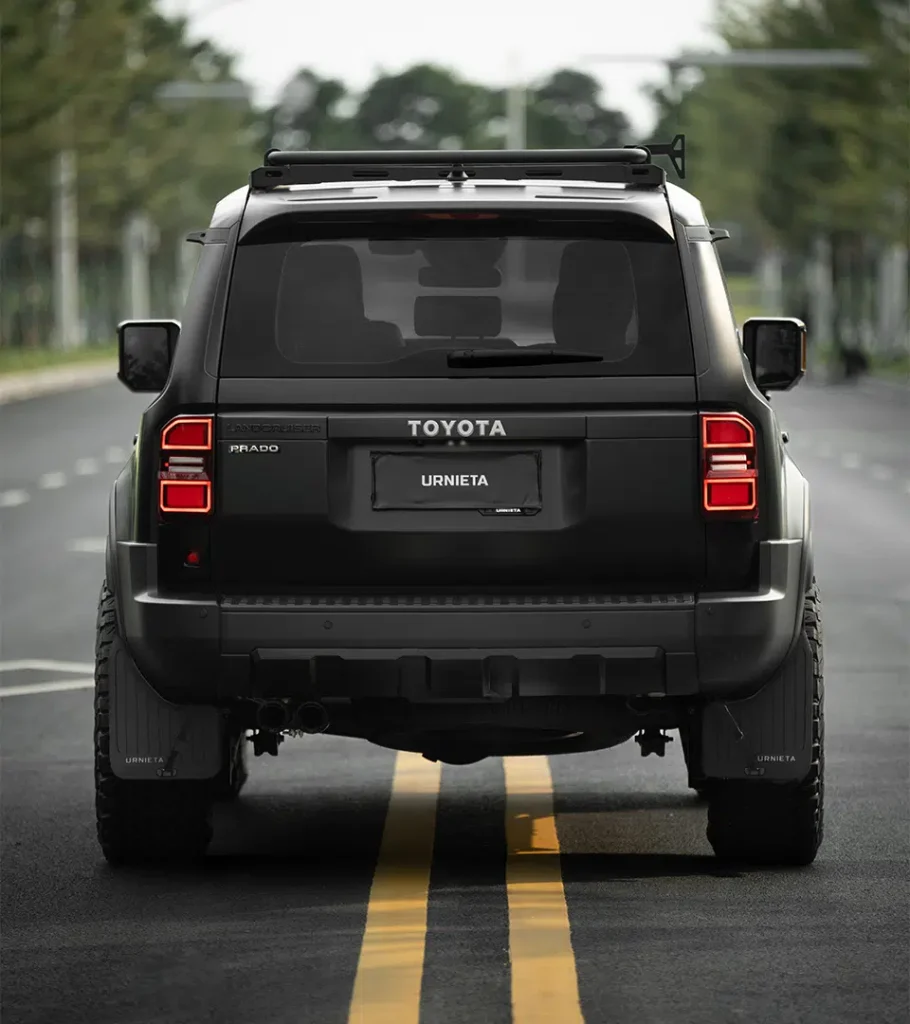
The LC250 is a new platform — first delivered to global markets in 2024, returning to North America after a fifteen-year absence. The factory body lines are tighter than anything Toyota has produced in the segment. Generic mudflaps don't sit on it correctly. Off-the-shelf rubber doesn't follow the curvature. And aftermarket flaps designed for the previous Prado platform don't share the same fender geometry — they leave a visible gap between flap and body that ruins the rear three-quarter view.
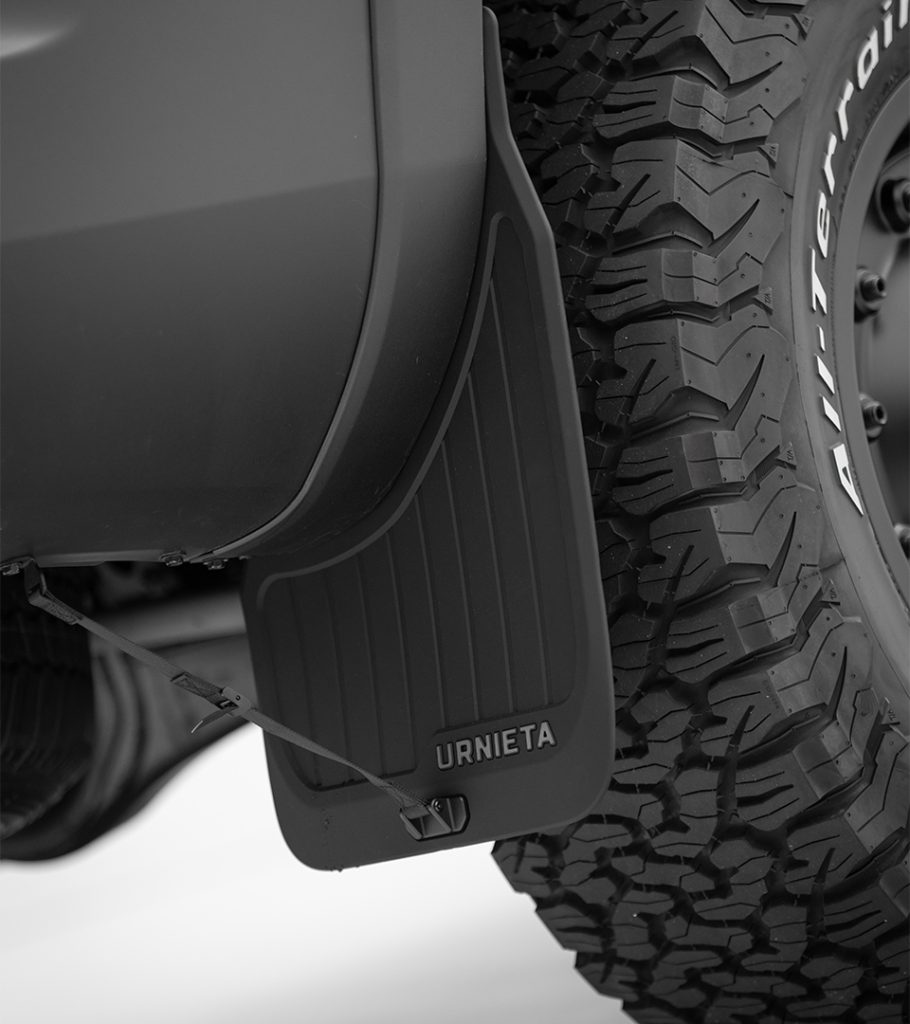
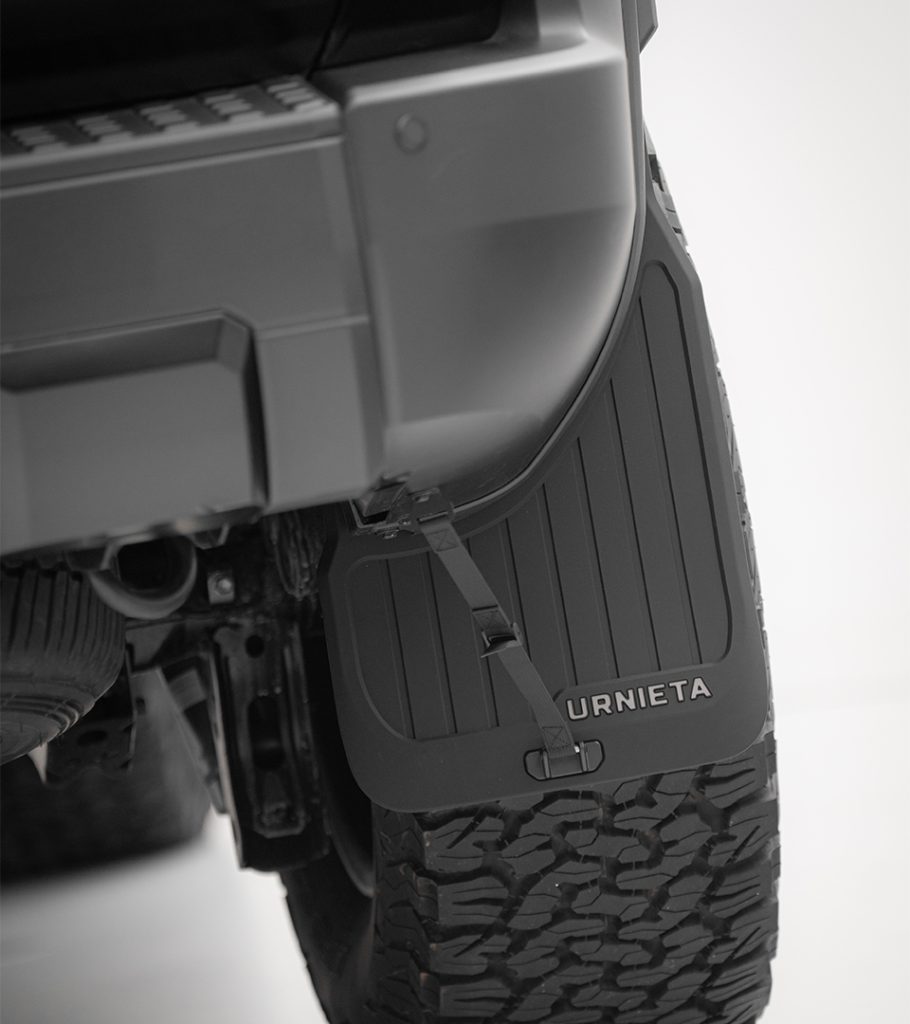
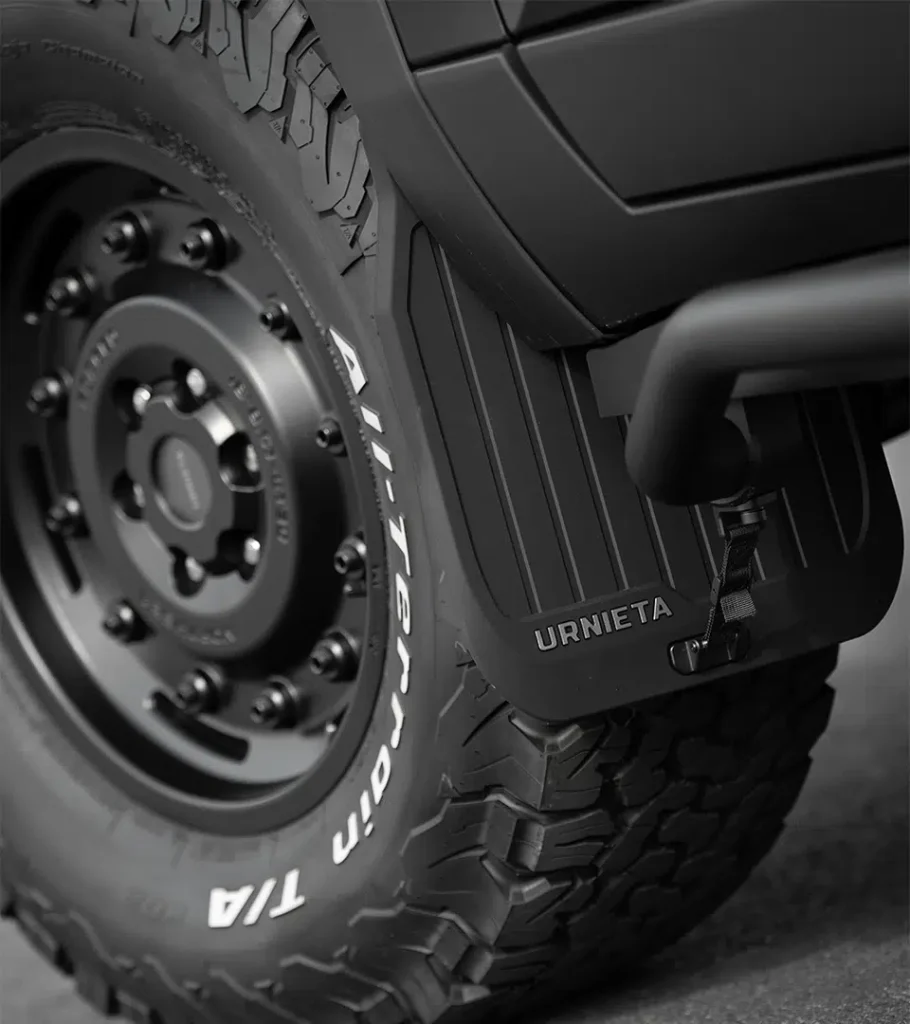
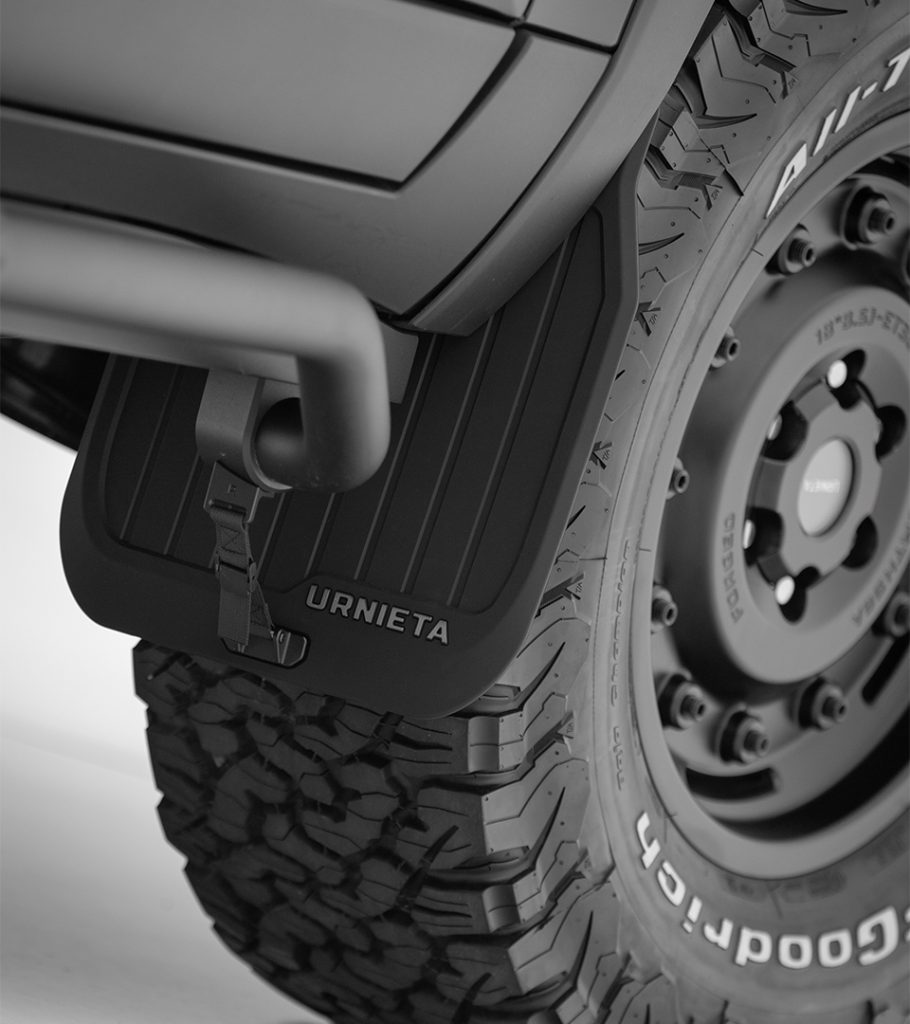
The URNIETA LC250 Mudflap Kit is drawn directly against the 250-series body line — fender by fender, sub-variant by sub-variant. Silicone-rubber composite for cold-weather flexibility, conventional rubber for UV and abrasion resistance, and an embedded steel core that stops the flap from flopping at speed, curling in summer heat, or cracking after corrugation. Each flap mates flush against the OEM fender flare with no shimming, no trimming, and no exposed gap. The leading edge looks factory-installed from any angle.

02

The drawing.

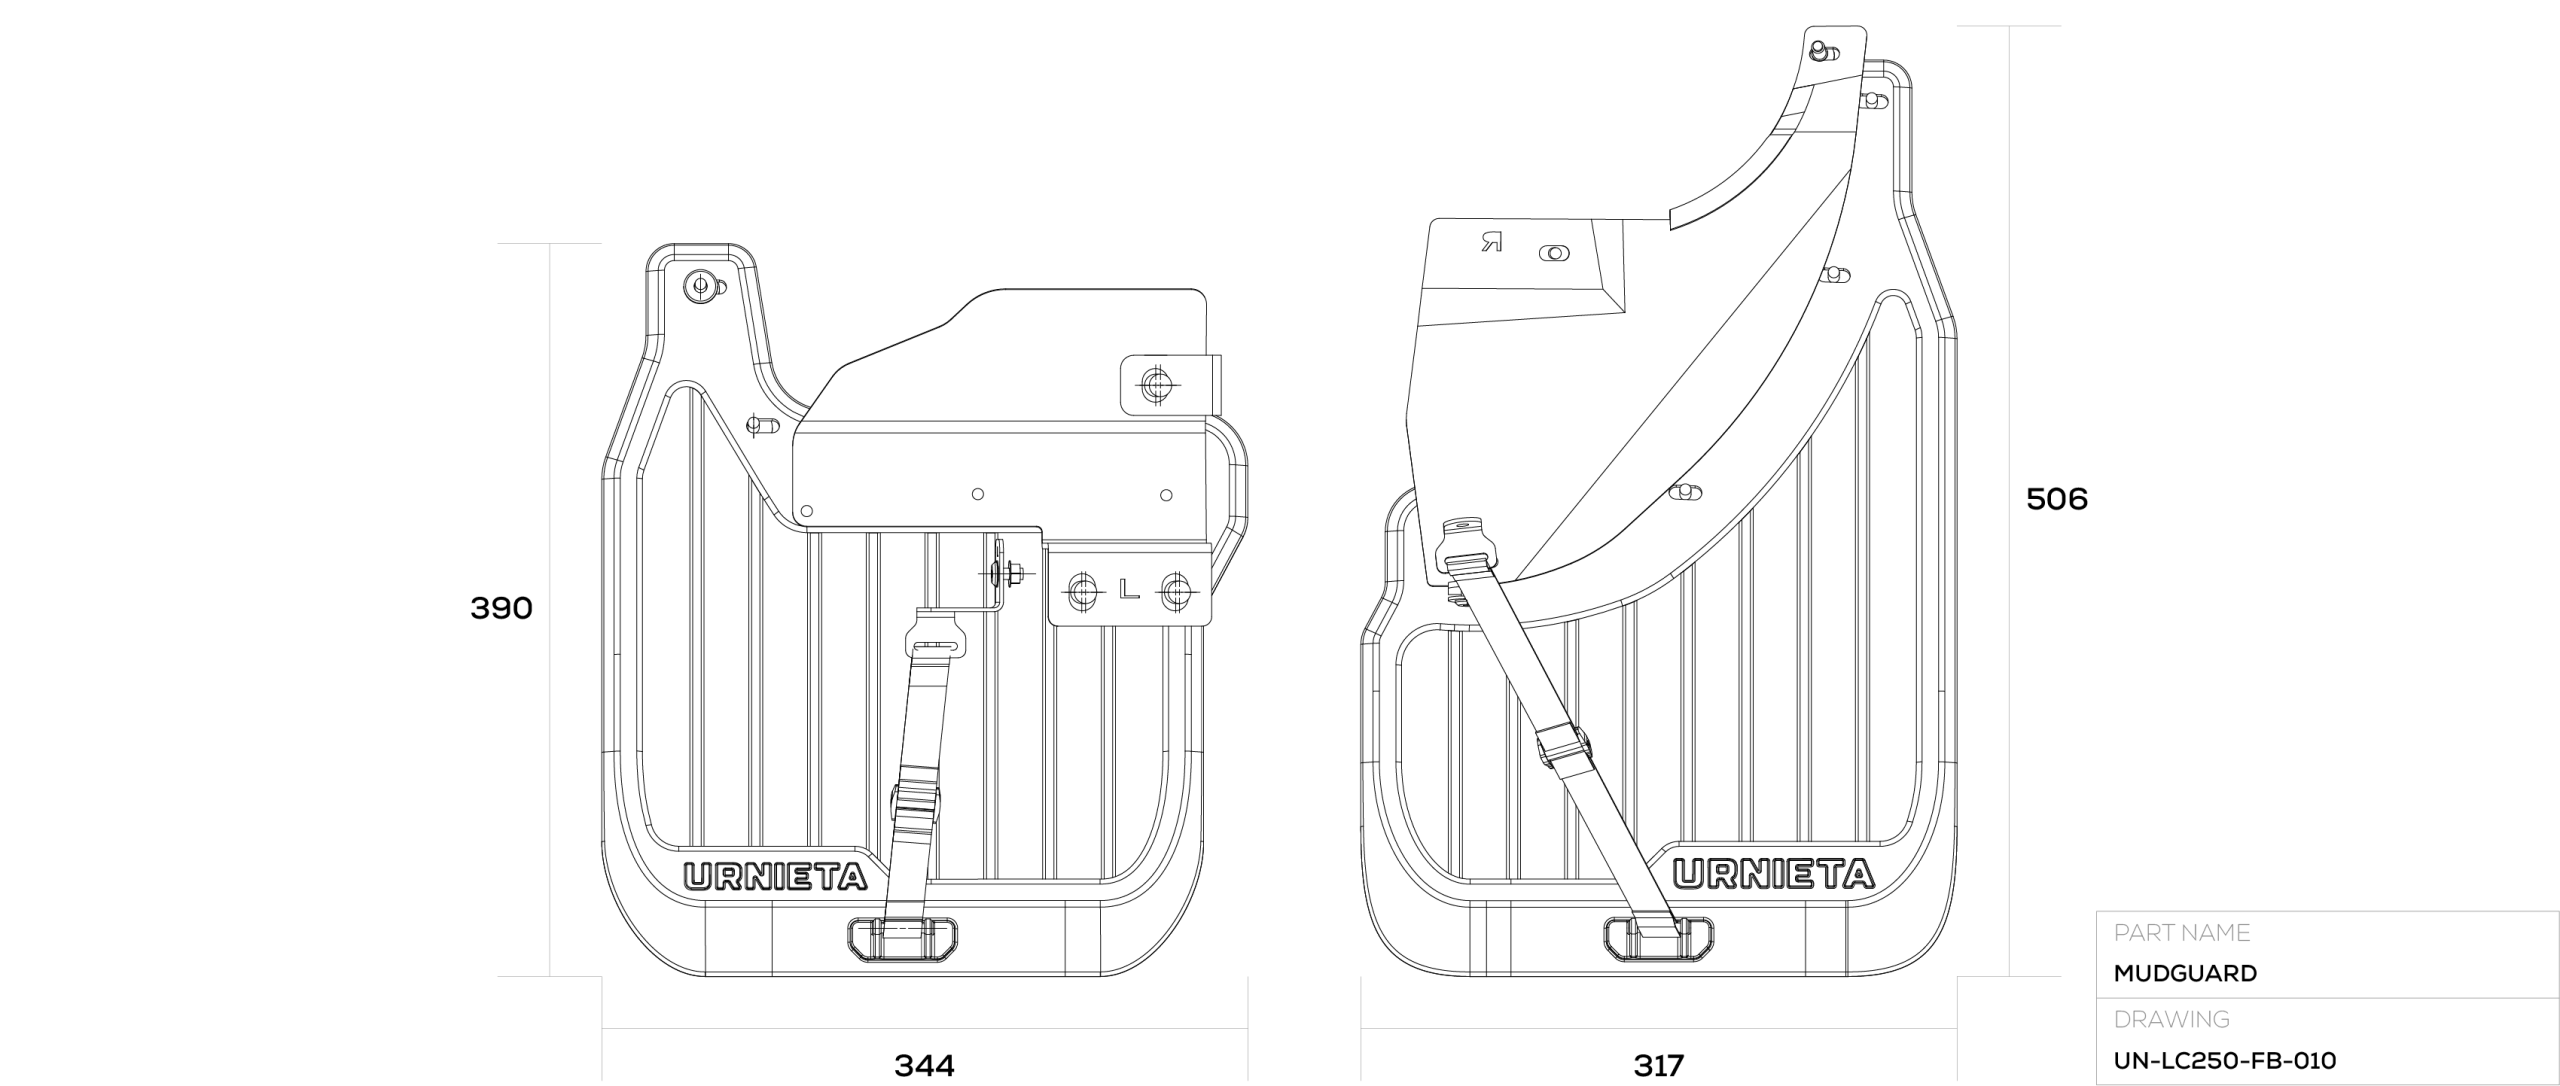
Key dimensions and detailed engineering information to help you quickly understand the product for easier selection.
PART NAME · Mudflap For Prado LC250 UNITS · MM (MM) SCALE · 1 :8 DRAWN BY · Feng REV · 23 / 2024.09
Mudflap For Prado LC250 technical drawing
03

Three things that matter.

We chose the things to optimize for and the things to leave alone. These three define how the flap sits on the truck and how it behaves once you're driving.
Feature01

DRAWN FOR THE 250 PLATFORM.

The flap leading edge is profiled directly against the LC250 OEM fender flare geometry — not borrowed from the LC150 / Prado 150, not adapted from the 200-series. Each fitment version is drafted from the 250 body line and tested against the production tolerances of the new platform. The result: a flush, gap-free transition between fender and flap that reads as factory-installed from any angle.
Feature02

STEEL-CORED, NOT FLOPPY.

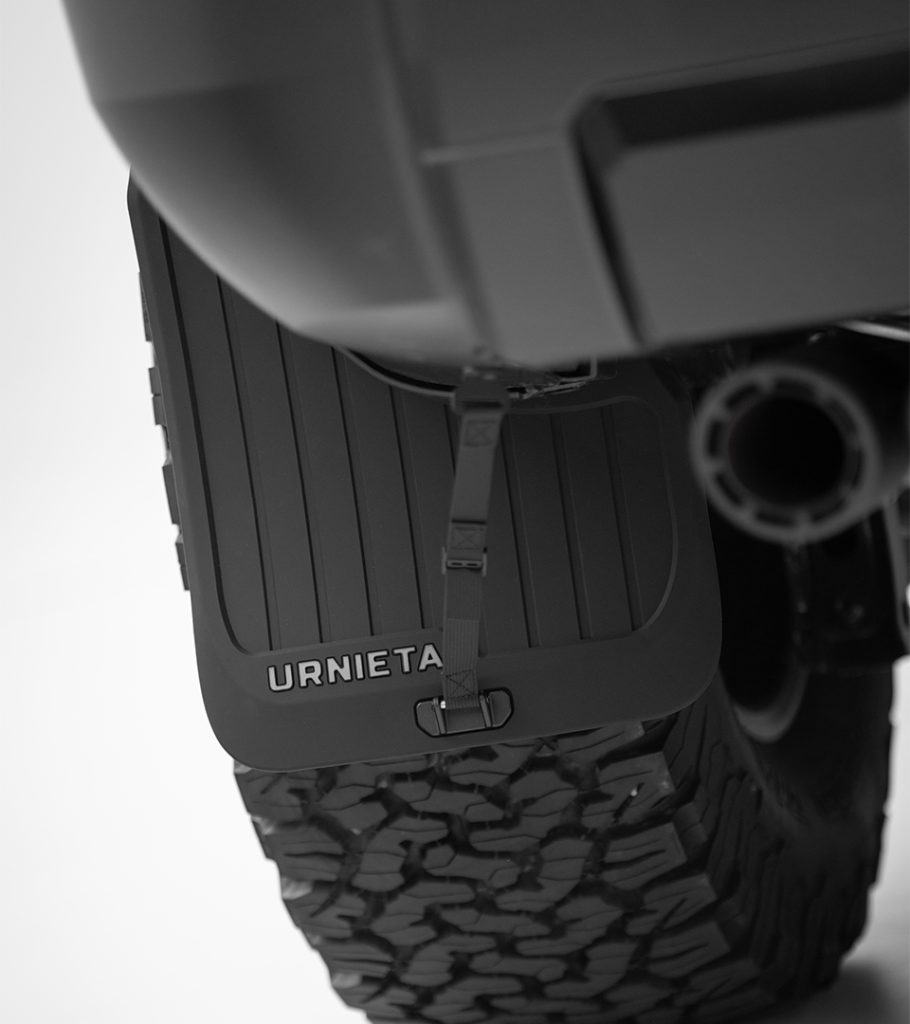
Every flap has a stamped steel plate cured into the rubber. The core stops the trailing edge from oscillating at highway speed, prevents long-term sag in heat, and keeps the flap pointing where it was designed to point — even after years of work. Most aftermarket flaps use no core, or a thin plastic stiffener that flexes through three seasons and gives up. URNIETA flaps don't.
Feature03

TENSIONED, NOT JUST BOLTED.

Each flap ships with a tension cord that anchors the trailing corner back toward the chassis — a detail borrowed from rally-spec mud guards. The cord stops the flap from being pulled forward by underbody airflow, blown sideways in crosswinds, or torn off by mud at speed. The flap is bolted at the top and tensioned at the bottom. It stays where it was put.
Field record701050
Product validationReal-world use
Built for practical off-road work
URN-FIELD / ARCHIVE
04 - In the Field
Field use is where product details become visible. Finish quality, mounting stability, and service access matter most after the vehicle leaves the workshop.
URNIETA field archive
05

Vehicle fitment.

Confirm the exact vehicle variant, model year, and market specification before ordering.
LC250
01 LC250 Land Cruiser 250 2024 — Present Direct Fit →
02 LX 550 Lexus LX 550 2021 — Present Direct Fit →
06

Installation overview.

A one-person job, completed in a driveway with standard hand tools. Detailed installation manual ships with the kit and is downloadable in advance.
Workshop install
01

PREPARE VEHICLE

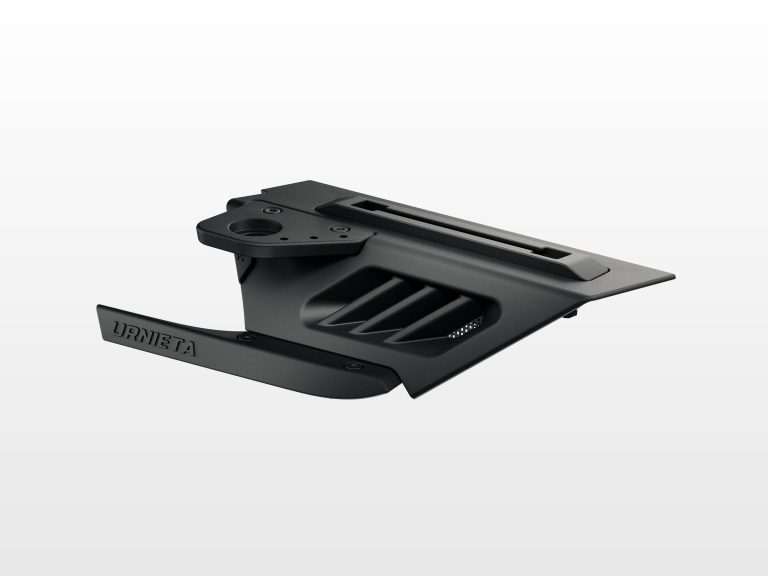
Remove the original front and rear mudflaps, plus the front wheel inner lining and sheet metal blocks. Confirm all supplied parts (LH/RH specific).
INITIAL CHECK
02

FIT FRONT MUDFLAPS

Mount the front mudflap brackets with M12 hardware at the factory holes, then fit the LH/RH bodies and adjustment brackets (M6 hardware); where matching side bars are fitted, tap M10 threads and use the modified adjustment bracket.
BRACKET FIT
03

FIT REAR MUDFLAPS

Remove the rear buckles and screws, fit the rear mudflap brackets (M5/M6 hardware) and LH/RH bodies, then check alignment.
FITMENT CHECK
04

ADJUST & SECURE

Fit the rear adjustment brackets with the factory screws, set even spacing, and torque all hardware to spec.
FINAL TORQUE
For installation issues, please contact the URNIETA support team or your authorized dealer. Download Install Manual →
07
In the Crate

What's included.

1
Mudflap Assembly, front LH / RH
set
1
Mudflap Assembly, rear LH / RH
set
4
Mounting Brackets
4
Tension Cords
1
Mounting Hardware Kit, stainless
1
Installation manual, illustrated
1
URNIETA chassis tag
Next Step

Spec it
your way.

Request product details, fitment confirmation, or dealer support from the URNIETA team. We will help route the inquiry to the right regional contact when available.