URNIETA ORIGINAL DESIGNS — BUY FROM OFFICIAL CHANNELS ONLY
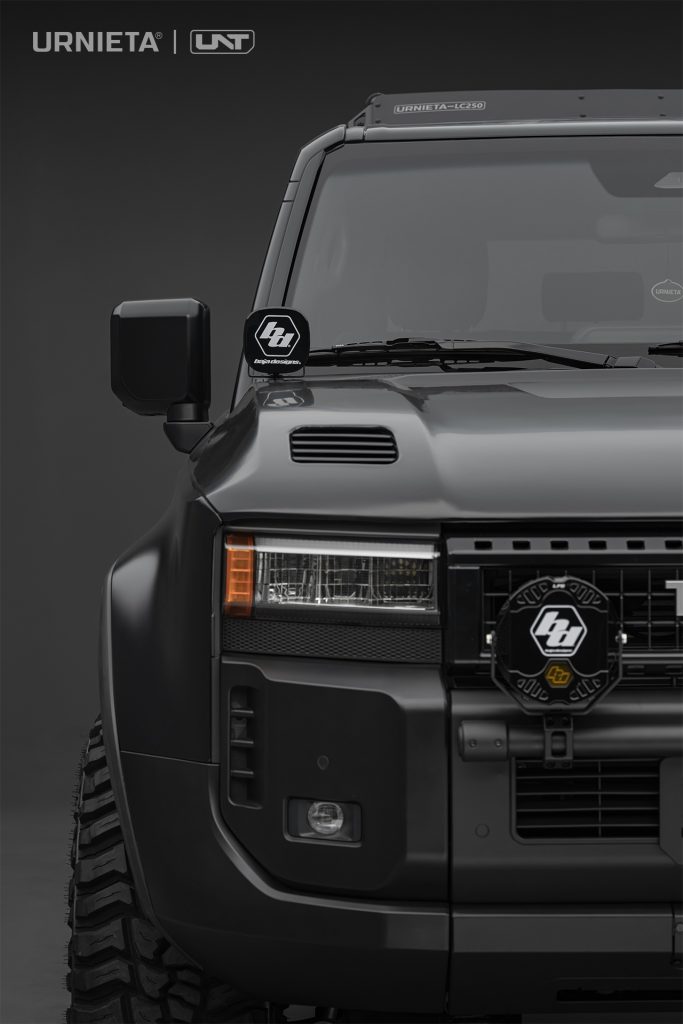
URNIETA / Land Cruiser / A-PILLAR LIGHTING BRACKETS ForLand cruiser 250
URNIETA Product Featured
LC 250 A-PILLAR LIGHTING BRACKETS

A-PILLAR LIGHTING BRACKETS
For Toyota Land cruiser 250

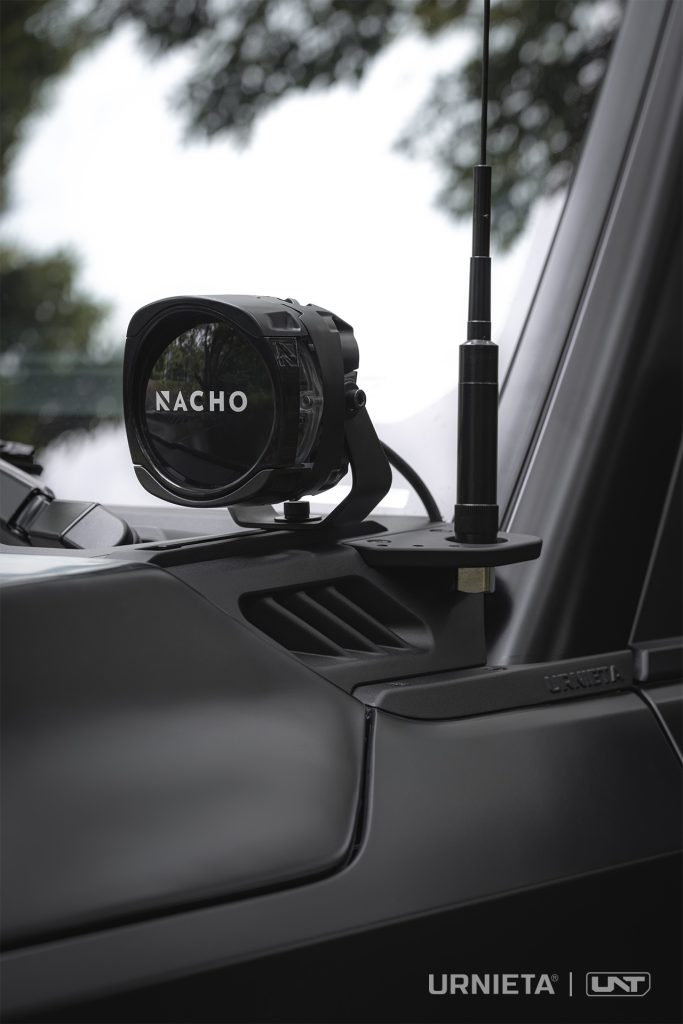
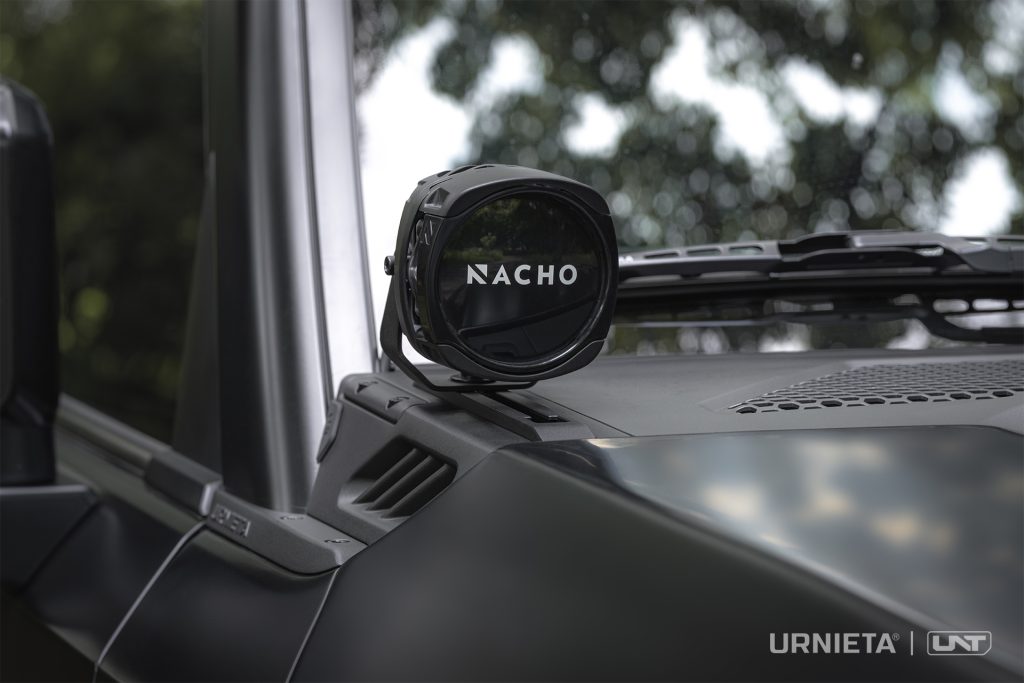
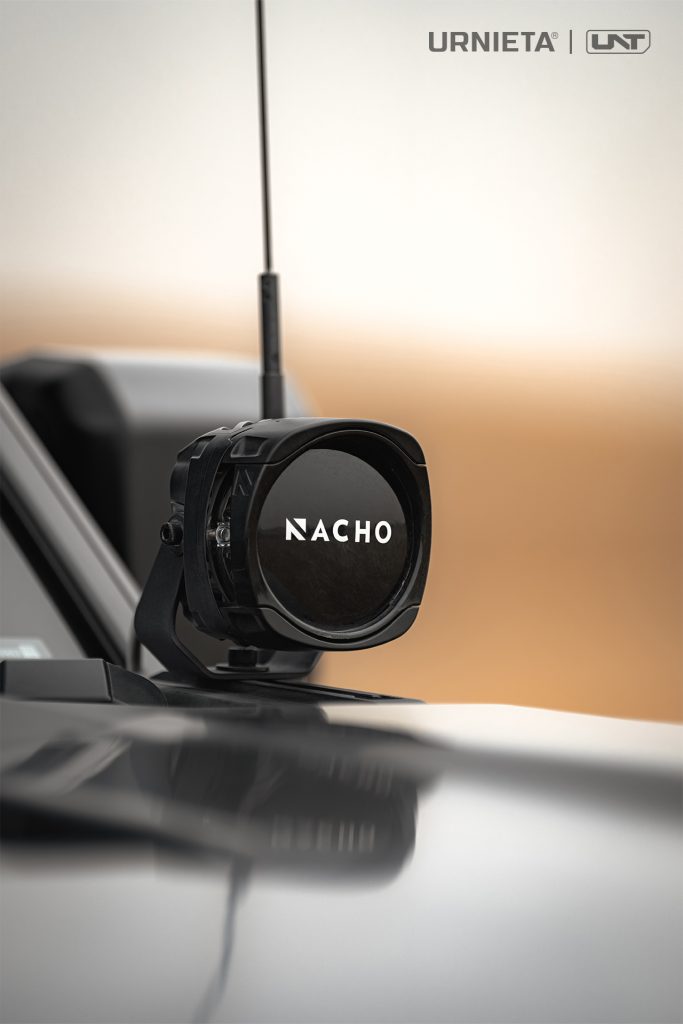
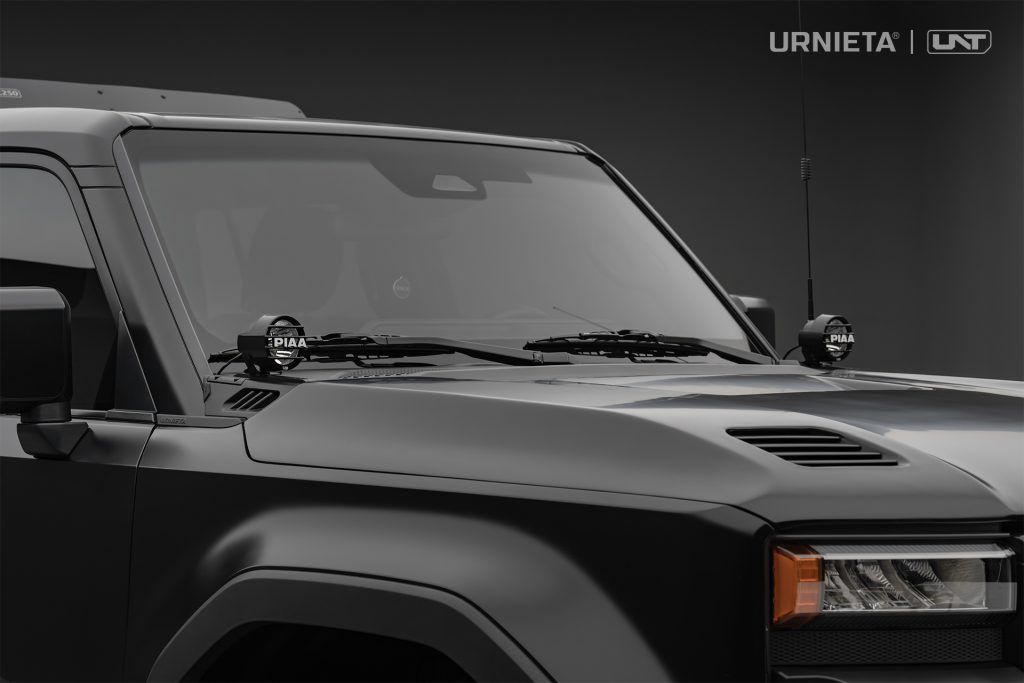
A multi-function A-pillar expansion kit built exclusively for the LC250 — integrated mounts for auxiliary lights, radio antenna, and action camera, with full LC250 fitment.
Material ABS / aluminum-magnesium alloy / stainless iron
Finish Black
Weight 3kg
Compat LC250
01
Design Notes

Why this part
exists.

A multi-function A-pillar expansion kit built exclusively for the LC250 — integrated mounts for auxiliary lights, radio antenna, and action camera, with full LC250 fitment.
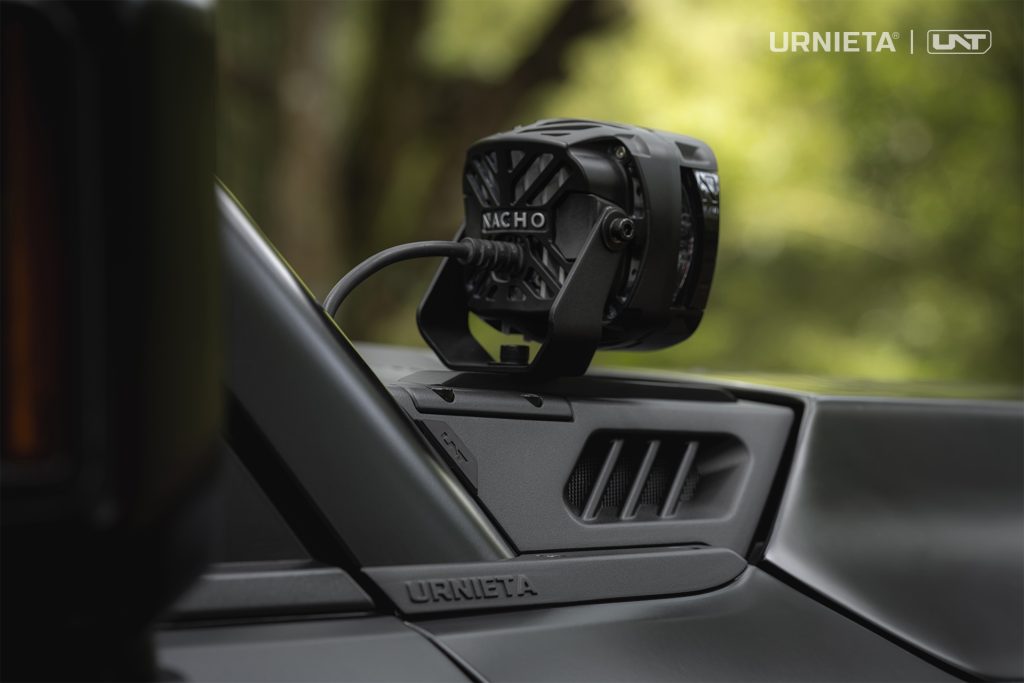
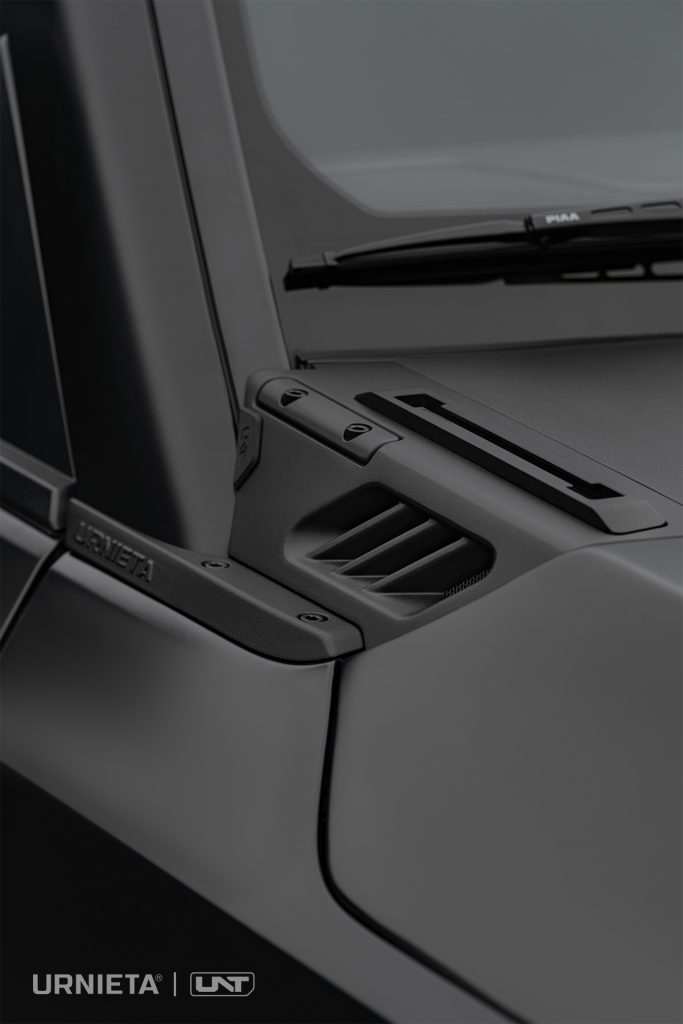
The A-pillar is prime real estate on any expedition build — but most mounts do one job and block the rest. URNIETA's A-Pillar Kit is engineered to carry auxiliary lights, a radio antenna, and an action camera from a single integrated system, without cluttering the pillar or the sightline.Beyond mounting, the kit is designed to earn its place: the antenna position sits 5 cm above the URNIETA roof rack, so it doubles as a height gauge — if the antenna clears, the whole vehicle clears. Swap the antenna out and the same position takes an extra light, enabling a dual-light setup per side. When nothing is mounted, supplied blanking pieces keep the kit's proportions clean. One pillar, every job.

02

The drawing.

Key dimensions and detailed engineering information to help you quickly understand the product for easier selection.
PART NAME · A-PILLAR LIGHTING BRACKETS UNITS · MM (MM) SCALE · 1 :8 DRAWN BY · Ricardo REV · 09/ 2026.09
A-PILLAR LIGHTING BRACKETS ForLand cruiser 250 technical drawing
03

Three things that matter.

These details define how the part performs once it is mounted on a working vehicle.
Feature01

Height Gauge Antenna Position

The antenna mount sits 5 cm above the URNIETA roof rack. Beyond better radio signal reception, it acts as a clearance reference — if the antenna clears an obstacle, the whole vehicle clears.
Feature02

Convertible Light / Antenna Position

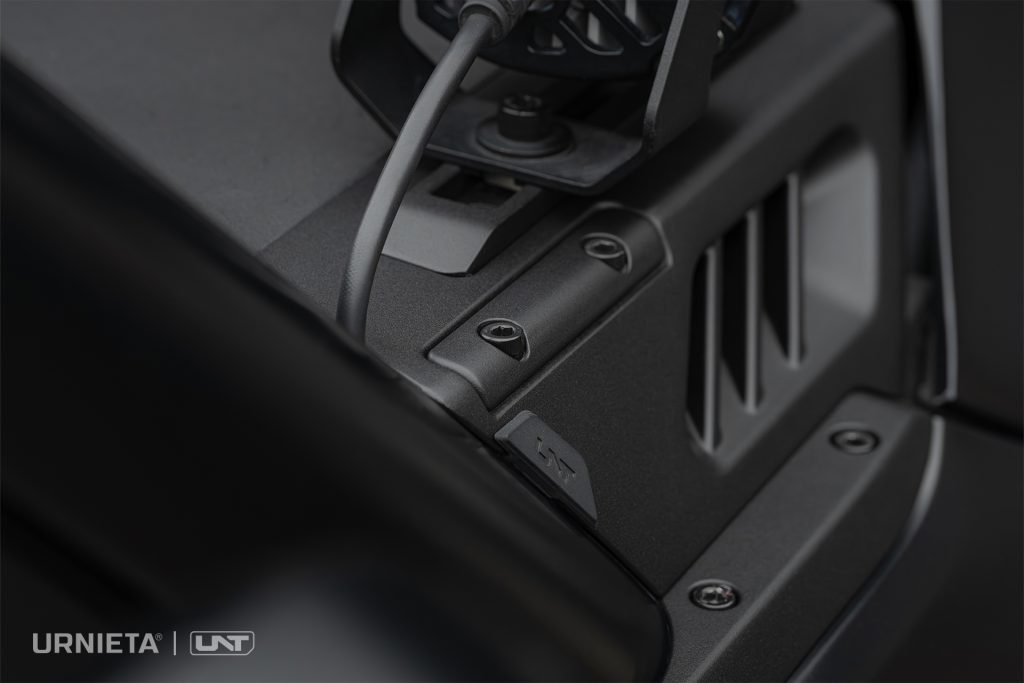
Run a radio antenna and auxiliary lights at the same time. Remove the antenna and the same position takes an extra light, enabling a dual-light setup per side. The light mount slides fore and aft on the adjustable rail to suit your needs.
Feature03

Clean When Unloaded

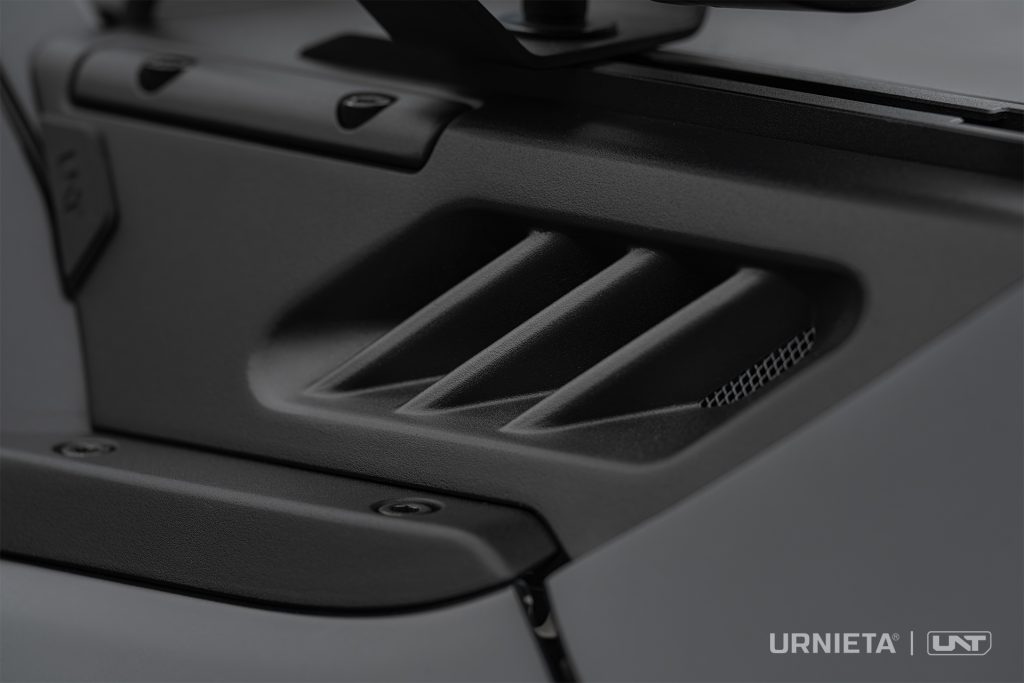
Fully unloaded, the kit ships with wiring dust plugs and antenna-module blanking pieces, keeping the proportions clean and complete. A vent grille echoes the front bumper kit while improving engine-bay airflow and heat dissipation.
Field recordURNIETA
Product validationReal-world use
Built for practical off-road work
URN-FIELD / ARCHIVE
04 - In the Field
Field use is where product details become visible. Finish quality, mounting stability, and service access matter most after the vehicle leaves the workshop.
URNIETA field archive
05

Vehicle fitment.

Confirm the exact vehicle variant, model year, and market specification before ordering.
Vehicle fitment
06

Installation overview.

Installation should be completed by a qualified workshop using the supplied hardware and current installation documentation.
Workshop install
01

Prepare Vehicle

Inspect mounting points, remove required trim, and confirm all supplied parts before installation.
Initial check
02

Test Fit Product

Position the part, confirm clearances, and verify alignment before final tightening.
Fitment check
03

Secure Hardware

Install supplied hardware to specification and recheck torque after initial use.
Final torque
04

Final Inspection

Confirm panel gaps, hardware access, and surrounding component clearance before releasing the vehicle.
Quality check
For installation issues, please contact the URNIETA support team or your authorized dealer.
07
In the Crate

What's included.

Next Step

Spec it
your way.

Request product details, fitment confirmation, or dealer support from the URNIETA team. We will help route the inquiry to the right regional contact when available.