URNIETA ORIGINAL DESIGNS — BUY FROM OFFICIAL CHANNELS ONLY
URNIETA / Land Cruiser 78 / Roof Console Upgrade Kit
SKU · 701057 Featured
LC78 · Roof Console Upgrade Kit

Roof Console Upgrade Kit

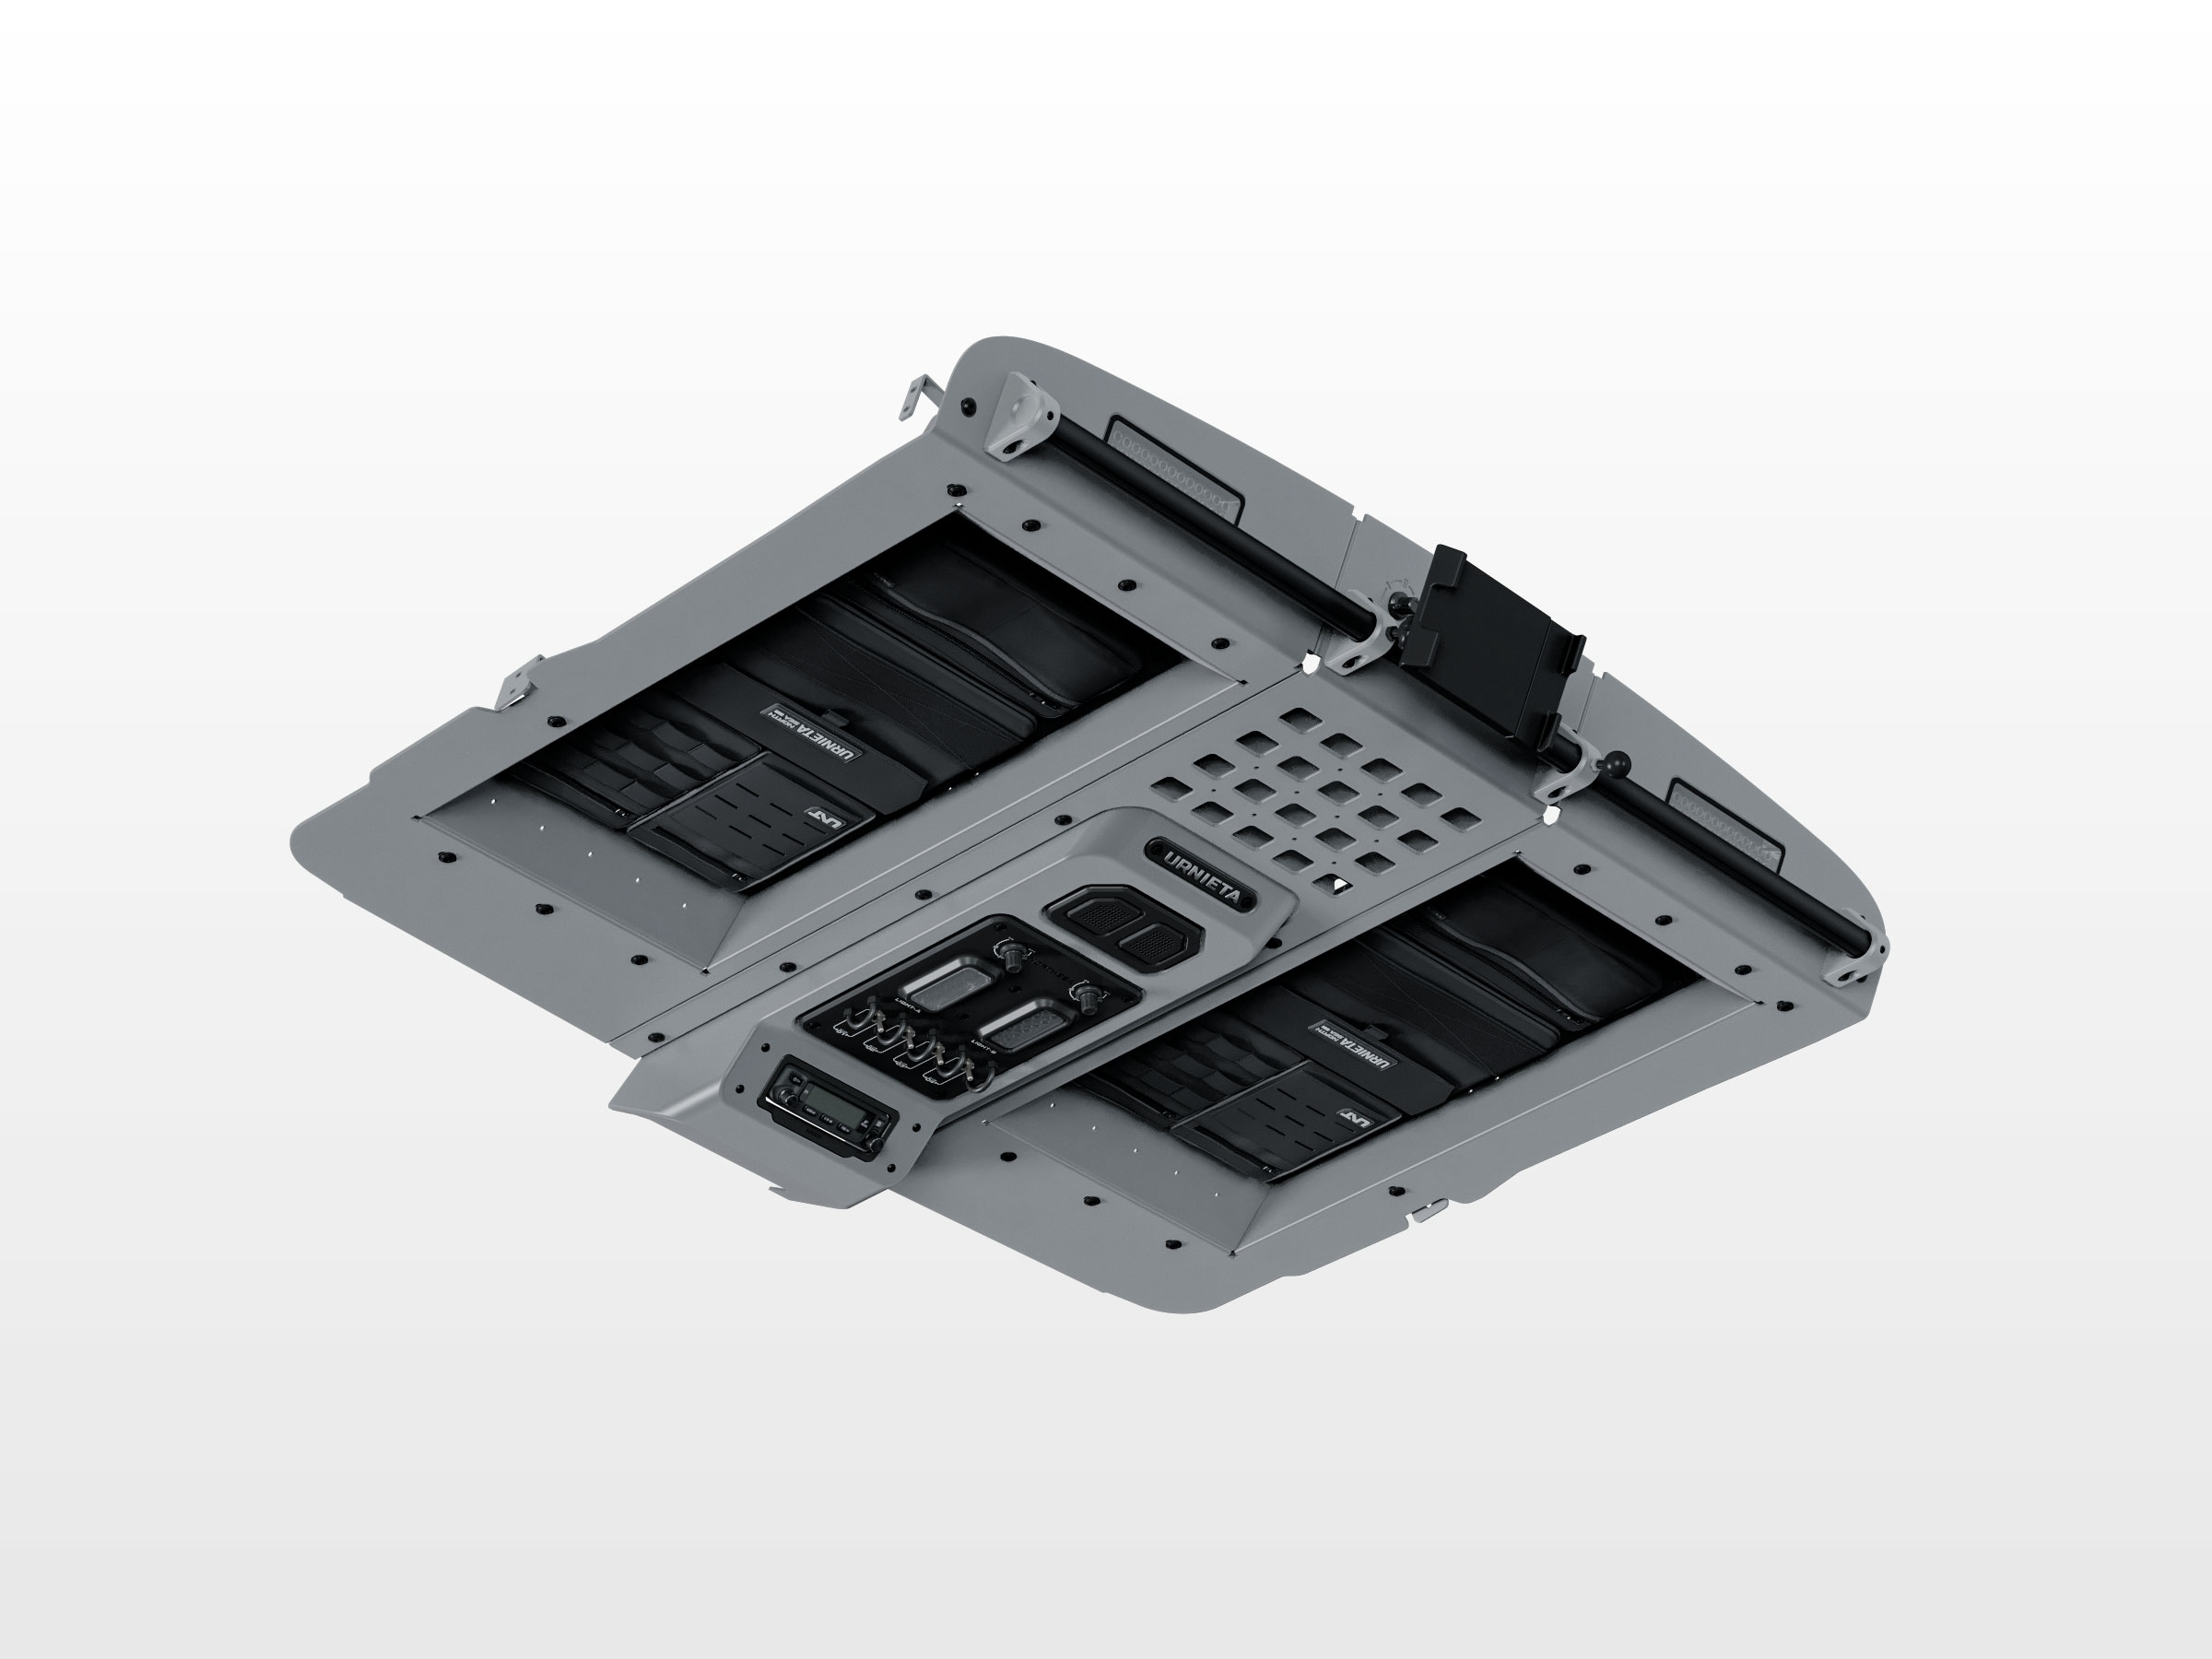
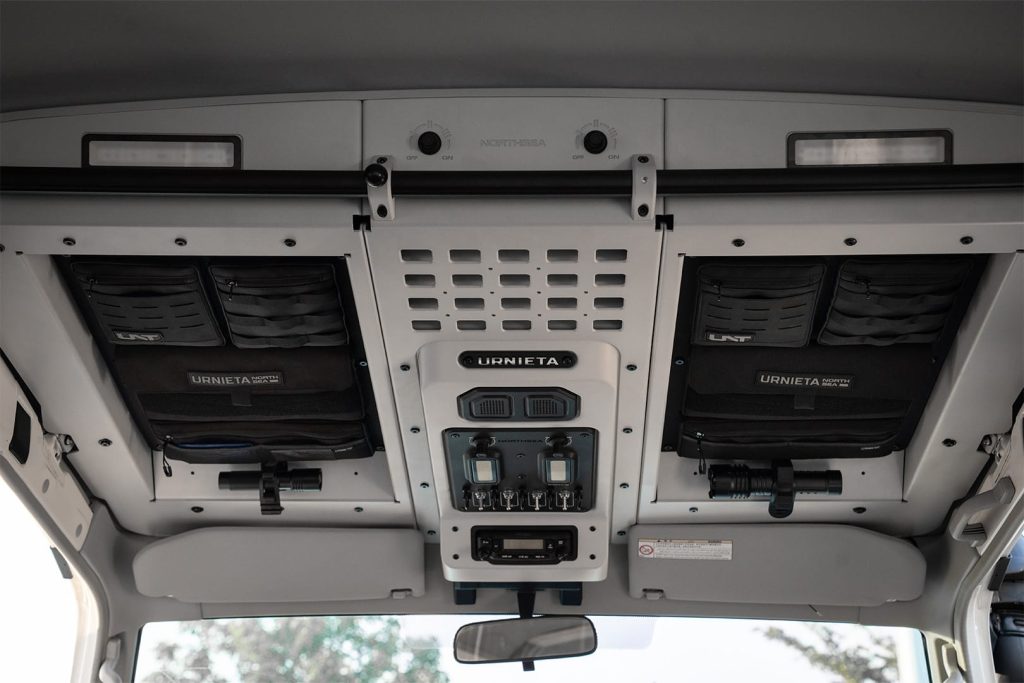
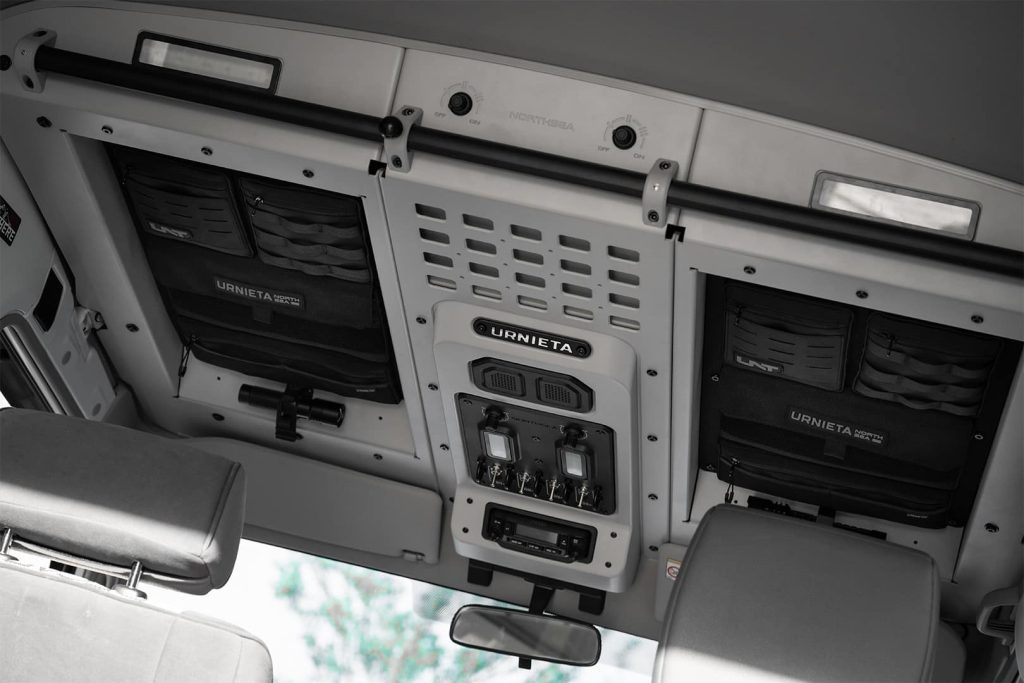
Turn your LC78 from a jokingly called “freight van” into a mission-ready overlanding command center. URNIETA’s latest Roof Console upgrade kit is built to redefine what the Land Cruiser 78 stands for — no longer just utility, but refined rugged functionality.
TYPE Integrated overhead system
Finish Light Gray
Weight 29.6KG
Compat. 01LC78 Troop Carrier
01
Design Notes

Why this part
exists.

The Troop Carrier is the truck Toyota built for the people who drive for a living. Aid workers in the Sahel. Mining crews in the Pilbara. UN logistics teams in places without a road. It's the chassis that gets respect in every part of the world where the trip can't be cancelled.

And yet the cockpit Toyota gives it has barely changed since 1999.
A wide expanse of grey plastic over your head. Storage that means whatever fits in a footwell. Electrical accessories that bolt onto the dashboard with double-sided tape. The truck was engineered for thirty years of remote travel — and the interior was engineered for none of it.
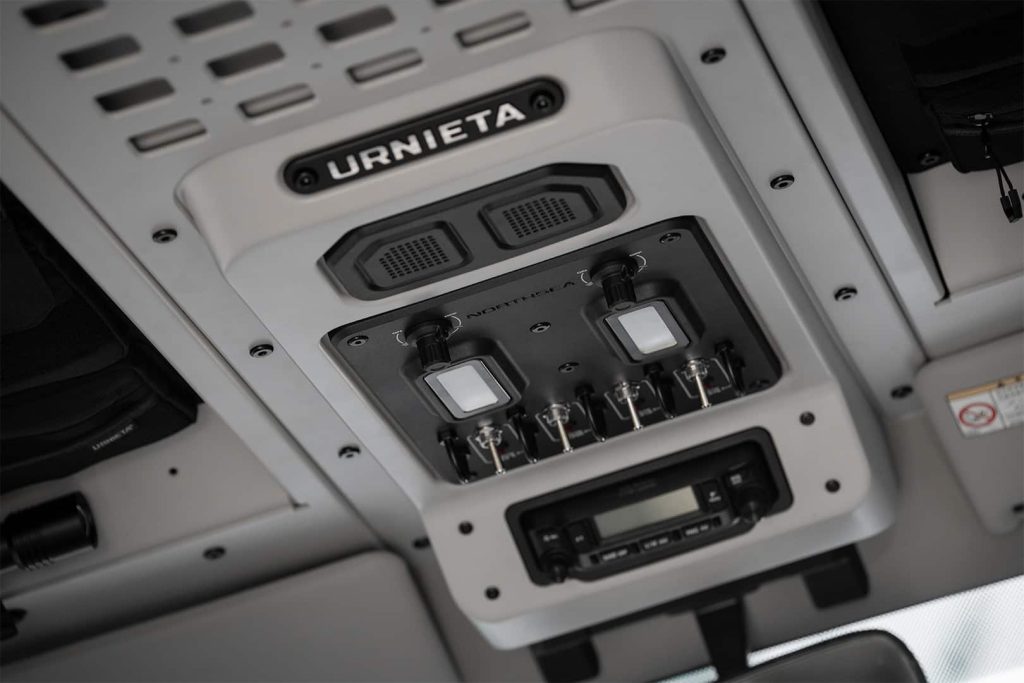
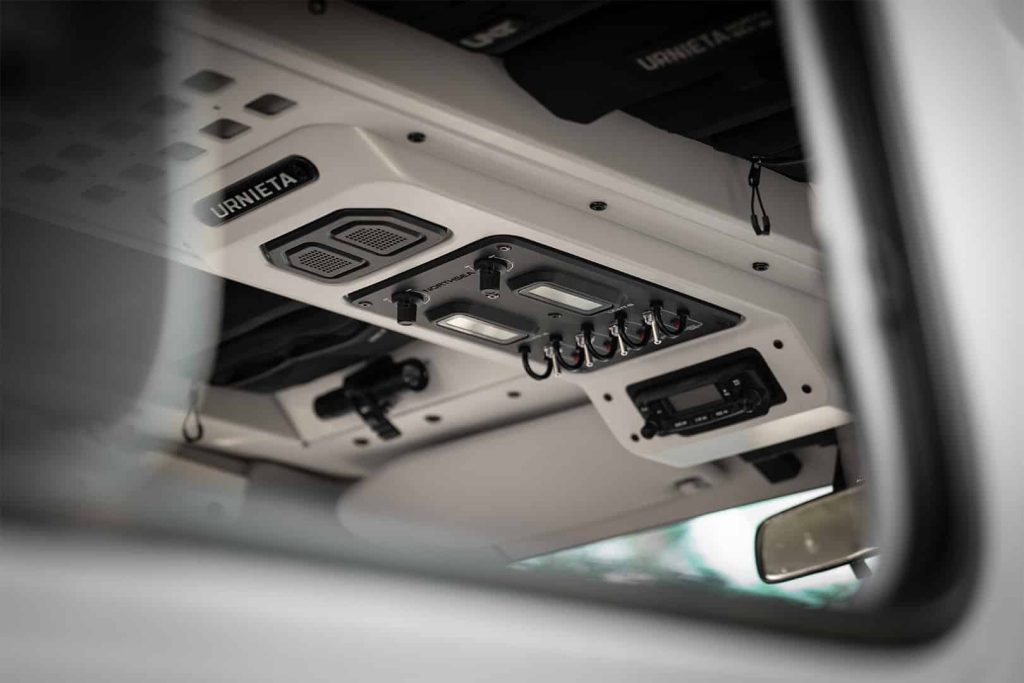
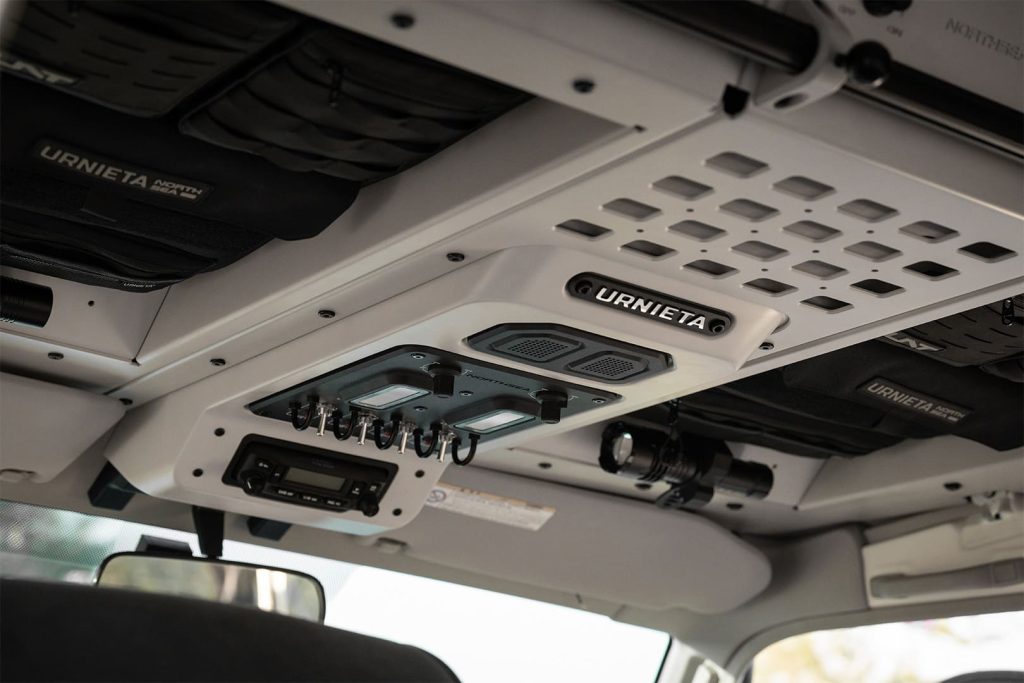
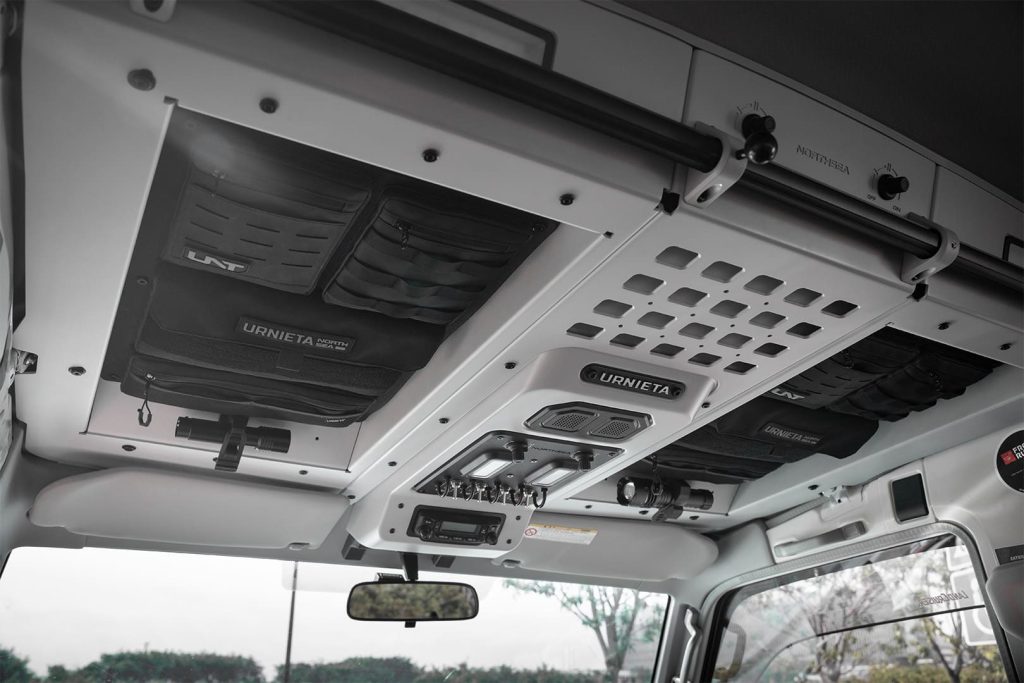
The URNIETA Roof Console Upgrade Kit is a single integrated module that replaces the entire overhead space in an LC78 — switch panel, lighting, radio mount, storage architecture, and accessory rail, all referenced to one CAD file and built around how the truck is actually used in the field. Not a series of bolt-on boxes. A redrawn ceiling.
What you get is a Troop Carrier with a cockpit that finally matches the chassis it sits on top of.
It's the part of the truck Toyota left for you to finish.

02

The drawing.

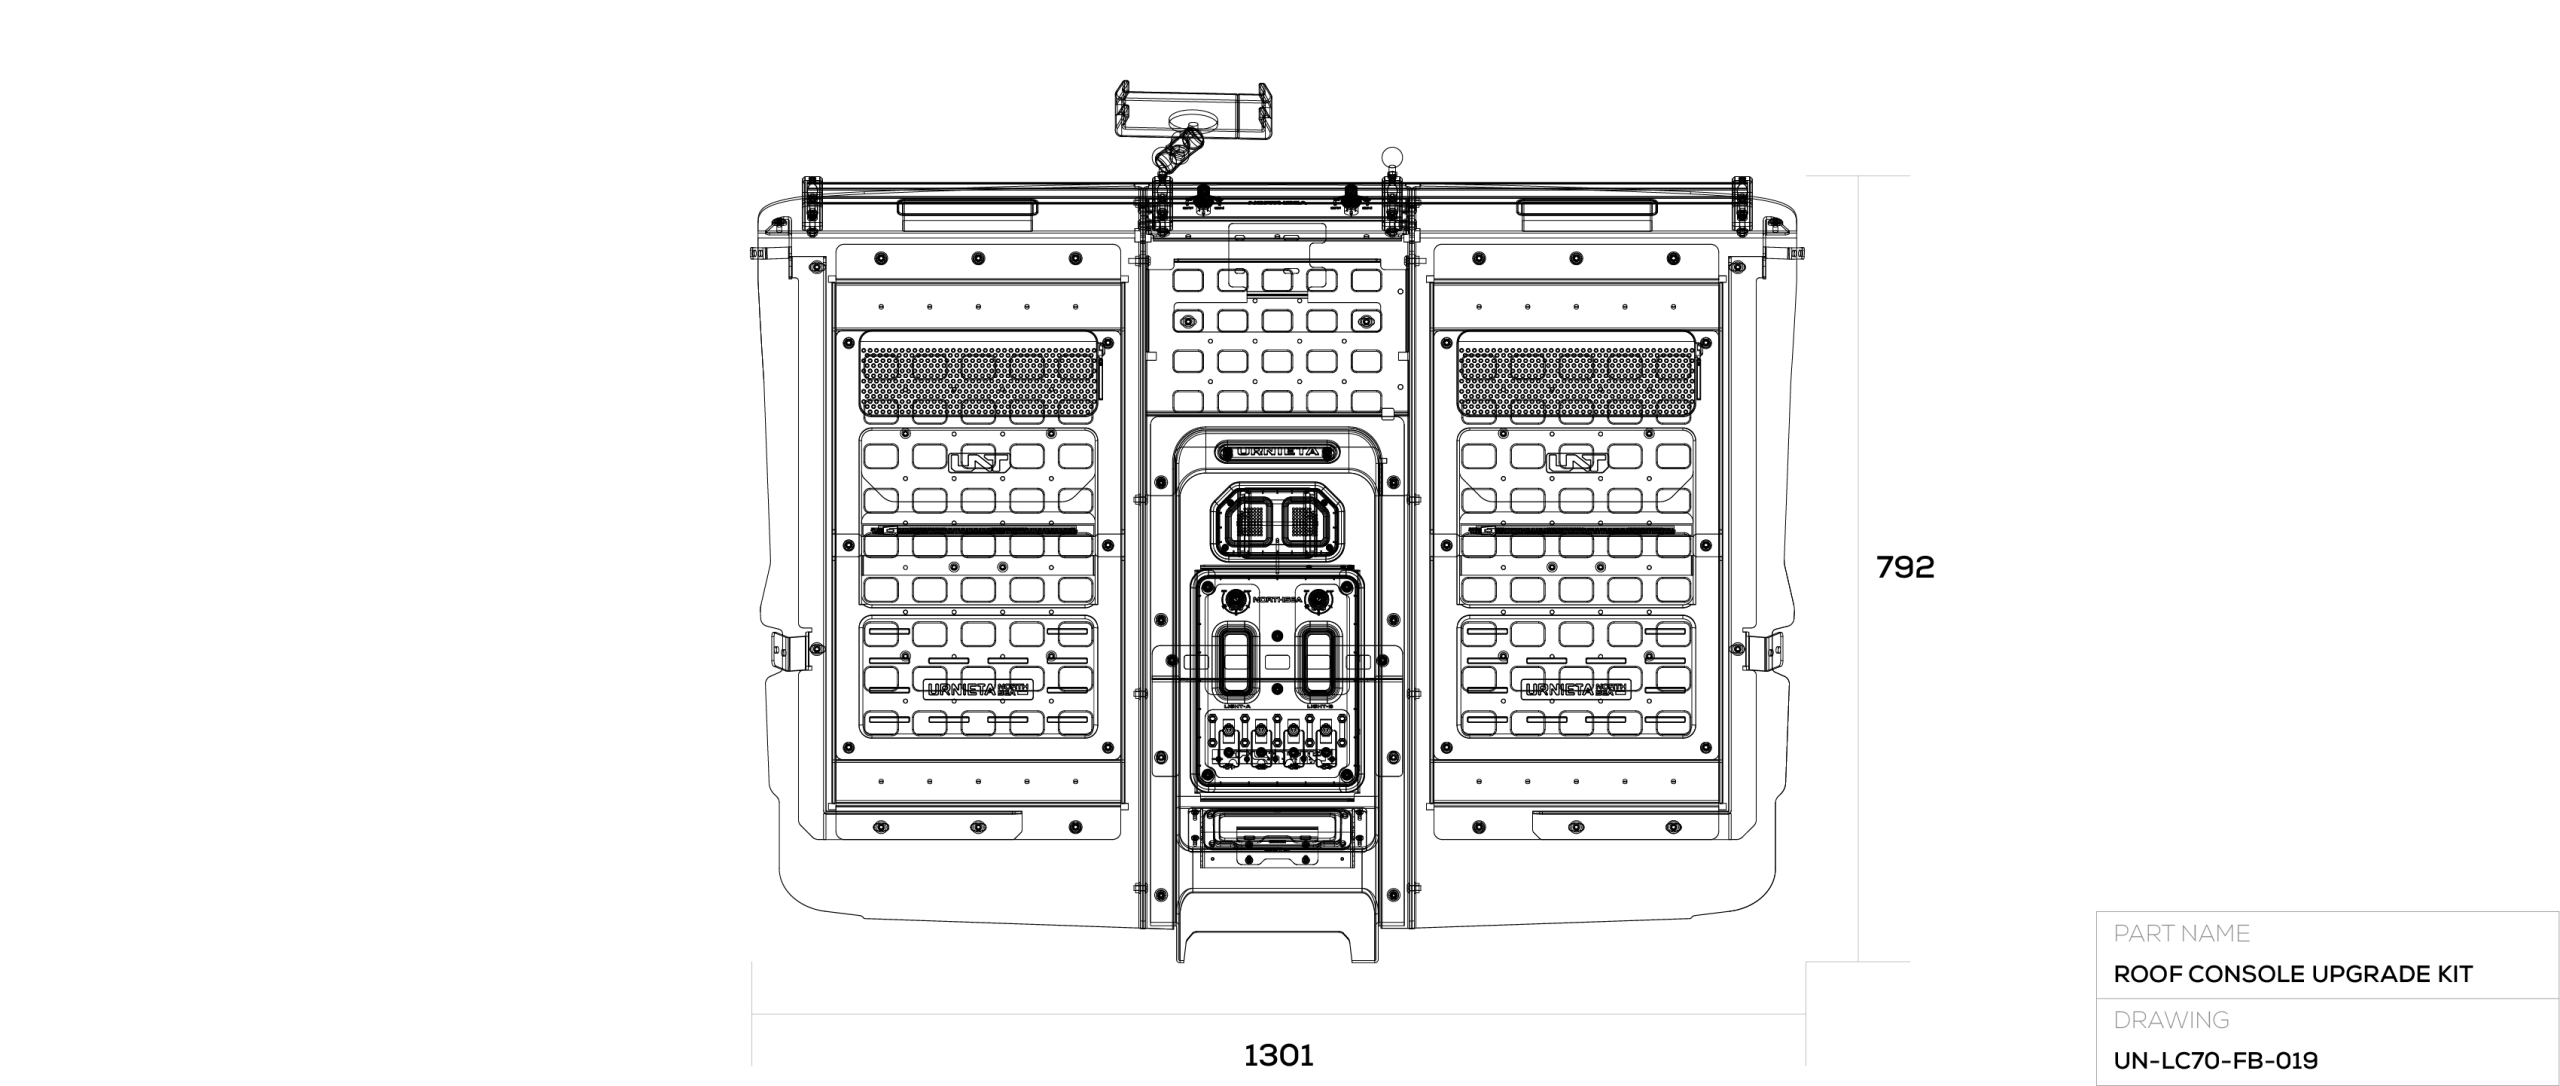
Key dimensions and detailed engineering information to help you quickly understand the product for easier selection.
PART NAME · Roof Console Upgrade Kit UNITS · MM (MM) SCALE · 1 :8 DRAWN BY · Feng REV · 23 / 2024.10
Roof Console Upgrade Kit technical drawing
03

Three things that matter.

We chose the things to optimize for and the things to leave alone. These three define how the cockpit works once you're a hundred kilometres from anywhere.
Feature01

ONE MODULE, NOT TEN PARTS.

Most LC78 interior upgrades are a sequence of bolt-on accessories — a switch panel here, a tablet mount there, a storage cube somewhere else. Each one drilled, wired, and fitted in isolation. The URNIETA system is engineered as a single integrated module: switches, lights, radio mount, accessory rail, and storage architecture all reference the same chassis points and wire through a single harness. The cockpit reads as one piece because it was drawn as one piece.
Feature02

BUILT FOR THE WAY YOU ACTUALLY DRIVE.

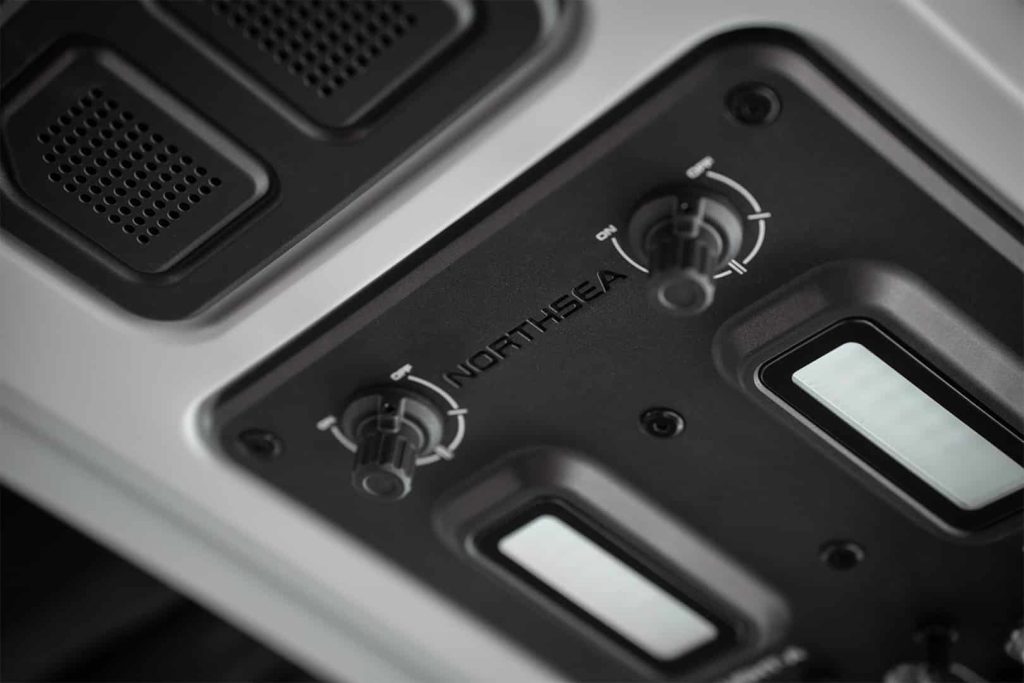
Four sealed mechanical AUX switches — not capacitive, not soft-touch — because gloves and dust kill touchscreens. Four independently controlled LED panels, split between cabin and cargo zones, on adjustable mounts. A radio bay sized for HF and VHF units with a dedicated speaker position. The cockpit is laid out for a driver running comms, lights, and accessories at speed — not for a showroom.
Feature03

A STORAGE GRID, NOT A STORAGE BOX.

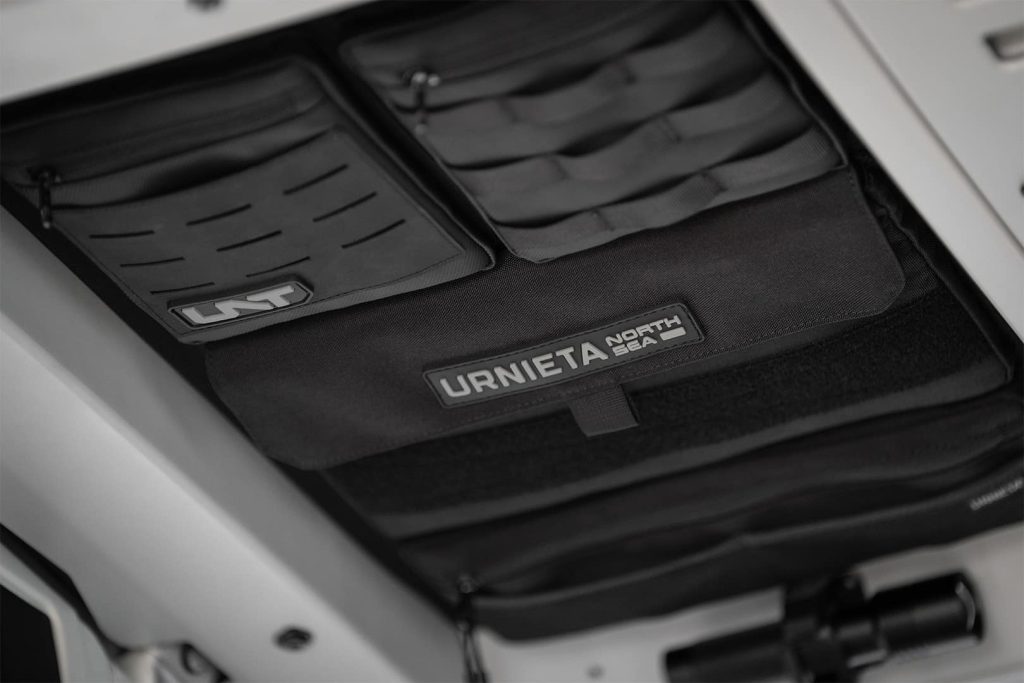
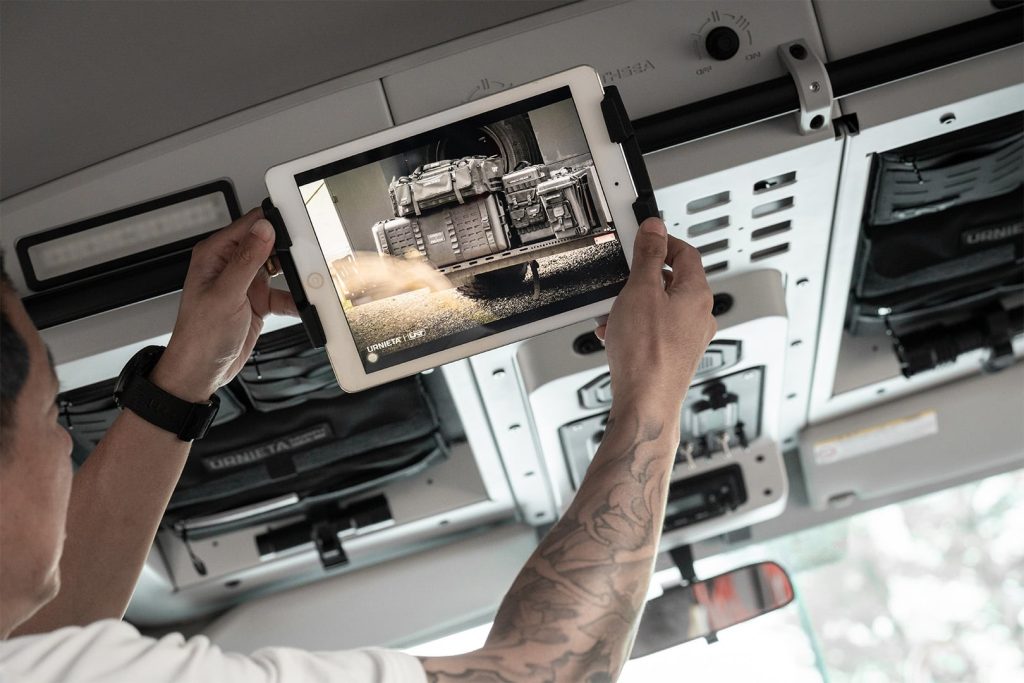
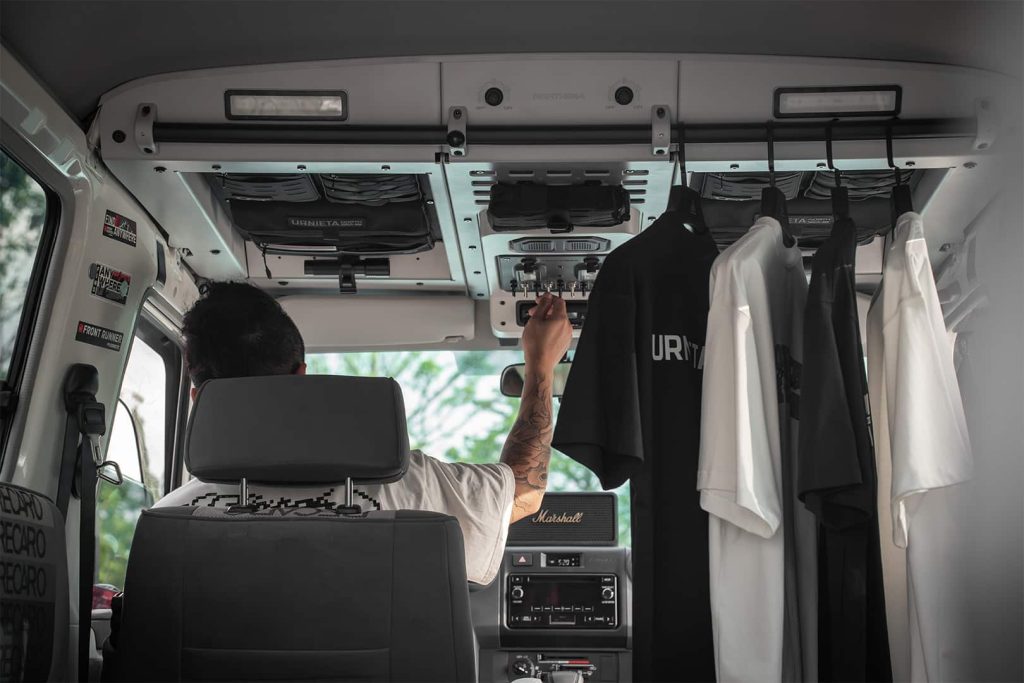
The rear storage zones are open MOLLE-style grid panels, not sealed cubbies. Two modular pouch sets ship with the kit — sized for tablets, documents, summer layers, chargers, handhelds — and clip onto the grid at any position. Pouches are removable; the grid behind them takes any third-party MOLLE accessory. Storage isn't a fixed compartment count. It's an architecture you reconfigure for each trip.
Field record701057
Product validationReal-world use
Built for practical off-road work
URN-FIELD / ARCHIVE
04 - In the Field
Field use is where product details become visible. Finish quality, mounting stability, and service access matter most after the vehicle leaves the workshop.
URNIETA field archive
05

Vehicle fitment.

Confirm the exact vehicle variant, model year, and market specification before ordering.
LC78
01 LC78 Land Cruiser 78 Troop Carrier 1999 — Present Direct Fit →
06

Installation overview.

A workshop job. Two people, roughly six hours, standard hand tools plus a multimeter for the wiring step. Detailed installation manual ships with the kit and is downloadable in advance.
Workshop install
01

PREPARE VEHICLE

Remove the first and second roof beam covers and the centre light. Confirm all supplied parts and your radio model.
Warning: Always install a relay box to guarantee voltage stability and electrical safety.
INITIAL CHECK
02

FIT BRACKETS

Fit the console brackets with the factory screws, mask the roof contact areas, then dry-fit the console with the positioning jig to mark and drill the M6 rivet holes.
BRACKET FIT
03

BUILD CONSOLE

Assemble the console (M6×20 / M6×14 screws), fit the selected radio panel (2730E / 6000R / 500D), and connect the lighting harness to the factory circuits.
FITMENT CHECK
04

MOUNT & SECURE

Fit the lighting and middle brackets, mount the assembled console to the roof leaving harness access, and torque all screws to spec.
FINAL TORQUE
For installation issues, please contact the URNIETA support team or your authorized dealer. Download Install Manual →
07
In the Crate

What's included.

1
Cockpit Upgrade Module, main assembly
1
Multi-function Accessory Cross-Rail
2
Ball-Head Accessory Mounts
1
iPad Telescoping Arm
2
Integrated Roof Expansion Pouches
1
Modular Hanging Pouch
10
Velcro Cargo Straps
1
Rear Cargo LED Bar, adjustable
4
Cabin LED Panels, adjustable
1
AUX Switch Panel, 4-position sealed mechanical
1
Radio Mount Bay + Speaker Position
1
Wiring Harness, complete
1
Mounting Hardware Kit
1
Installation manual, illustrated
1
URNIETA chassis tag
Next Step

Spec it
your way.

Request product details, fitment confirmation, or dealer support from the URNIETA team. We will help route the inquiry to the right regional contact when available.