URNIETA ORIGINAL DESIGNS — BUY FROM OFFICIAL CHANNELS ONLY
URNIETA / Land Cruiser 71 / Roof Console for LC70
SKU · 701023 Featured
LC71 / LC76 / LC79 · Roof Console

Roof Console
for LC70

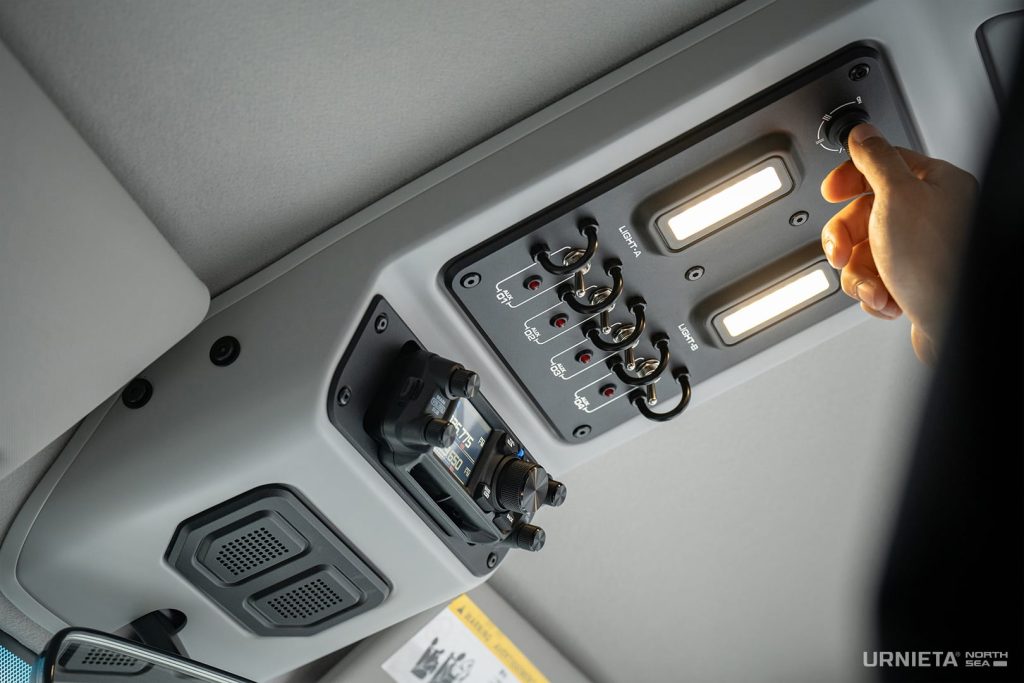
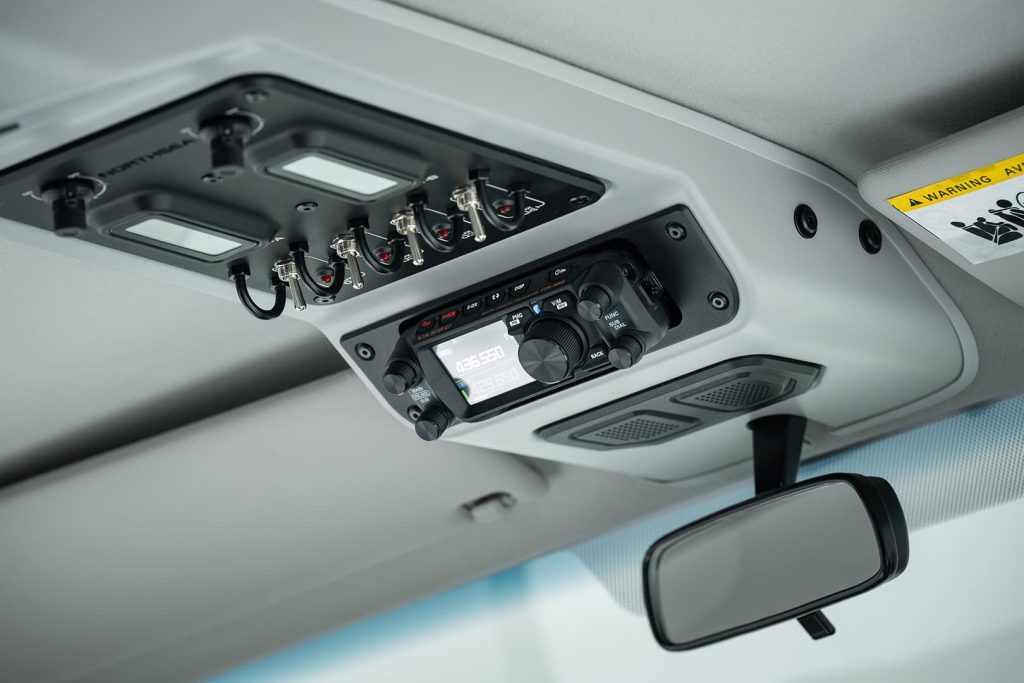
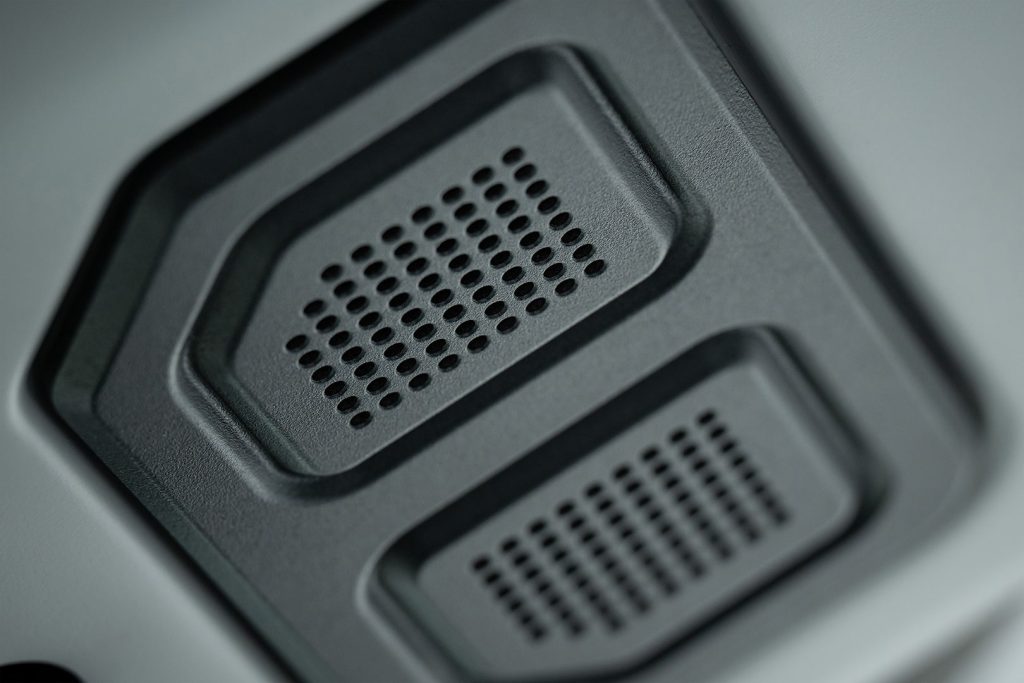
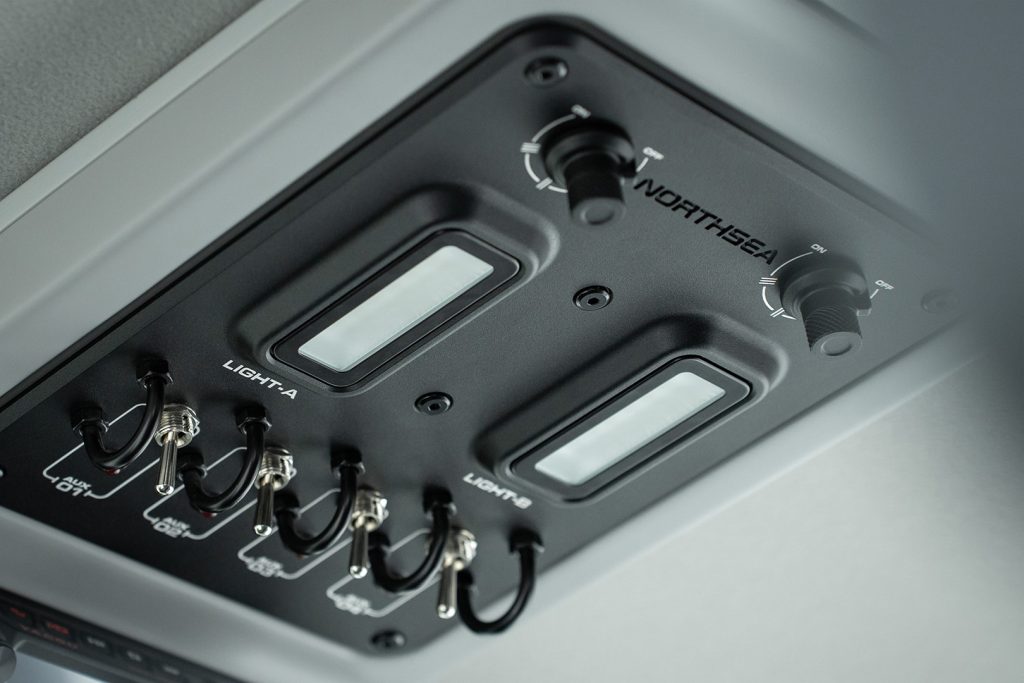
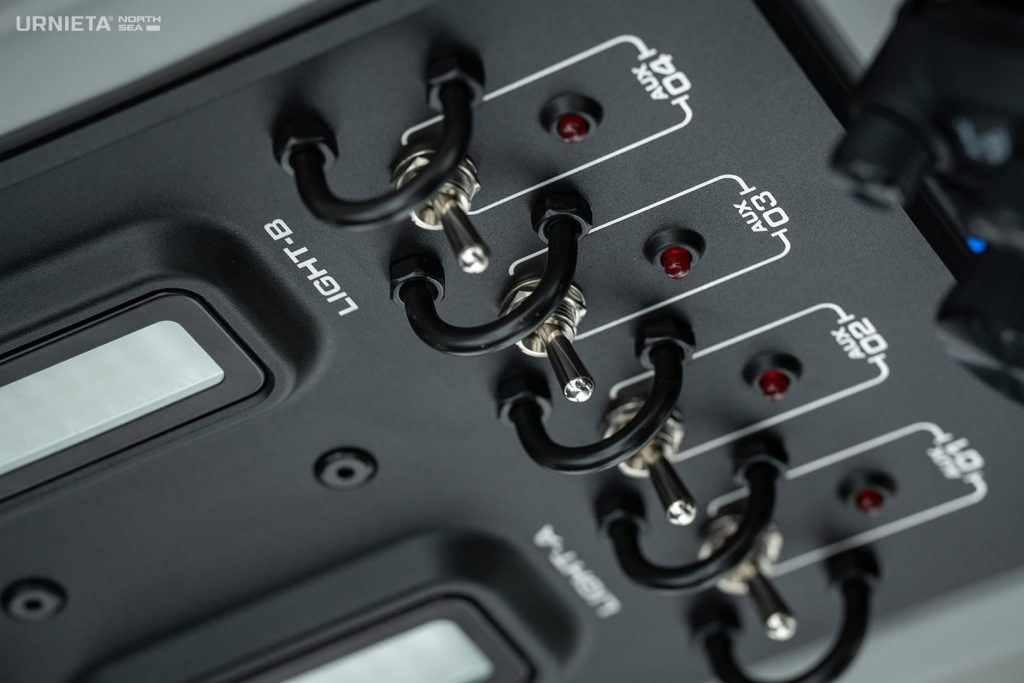
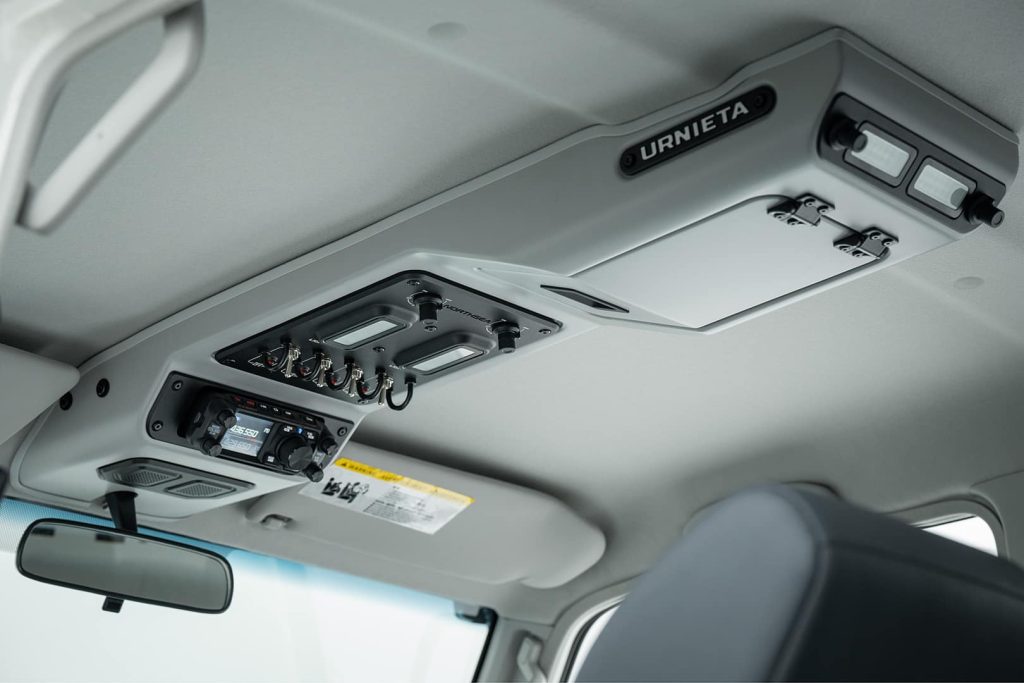
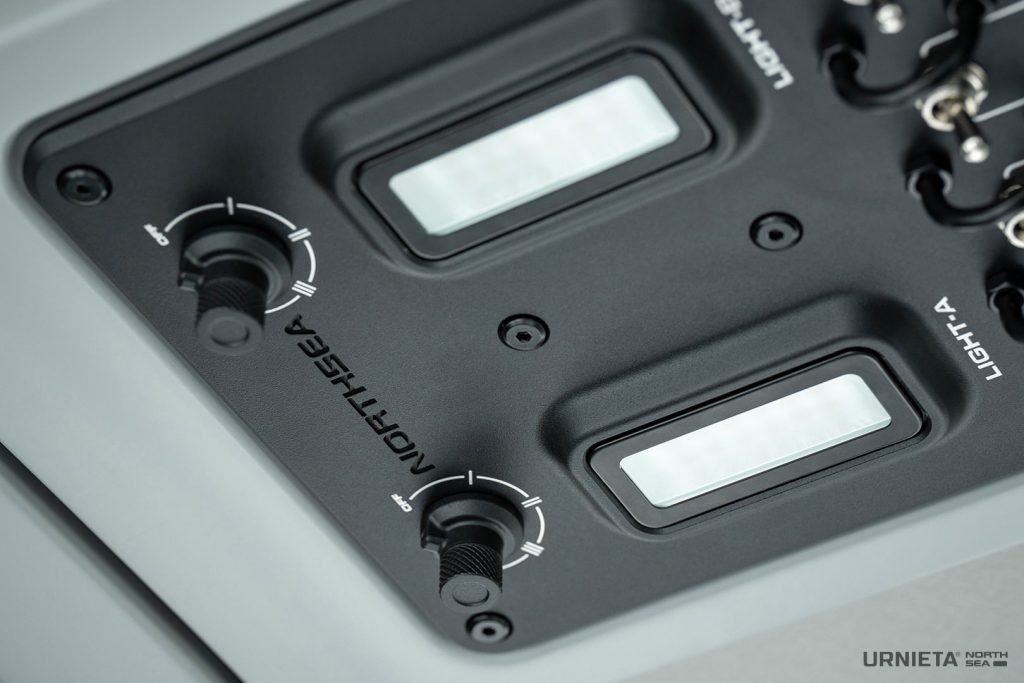
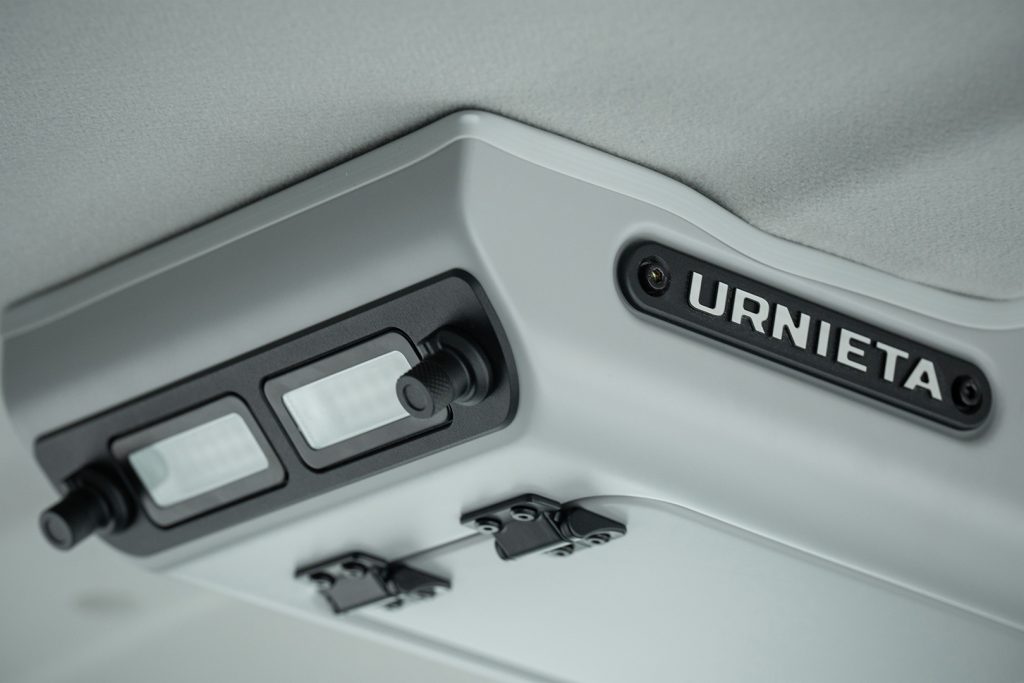
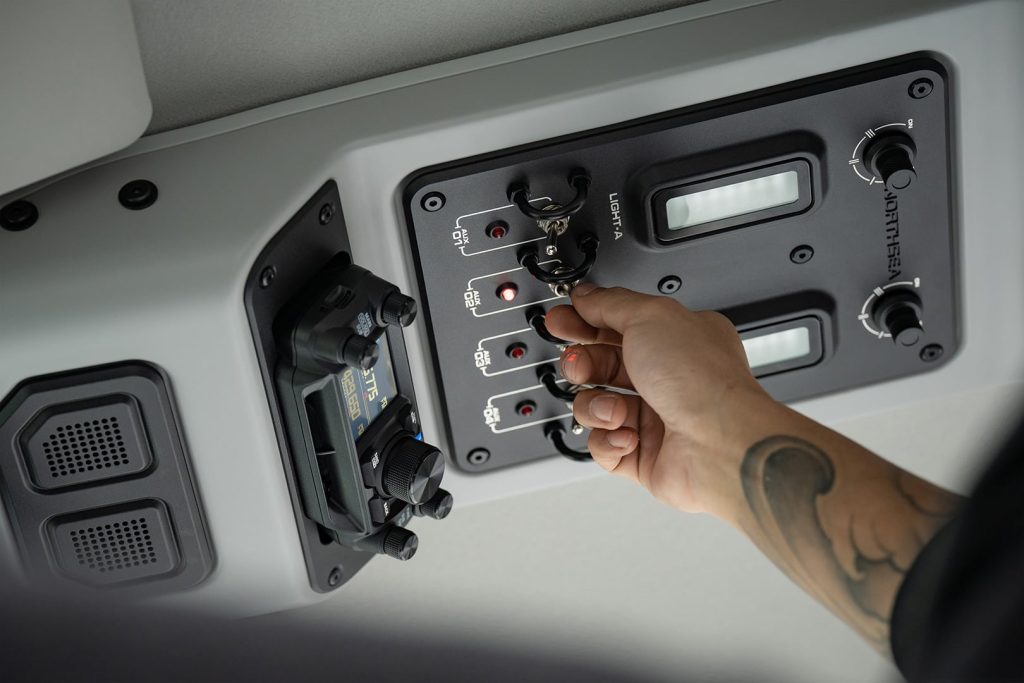
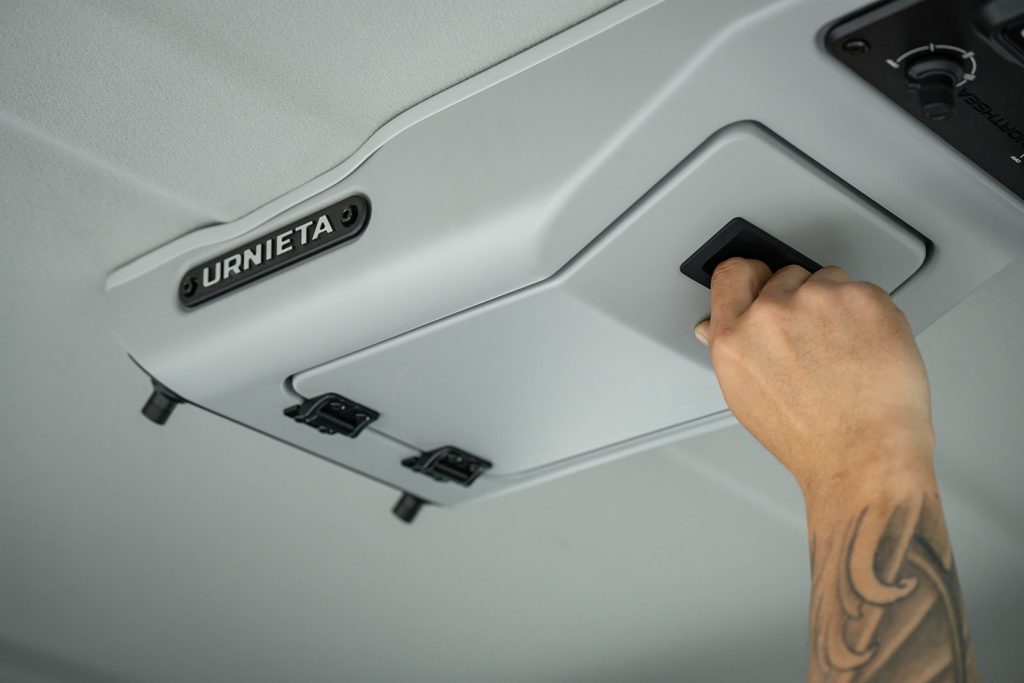
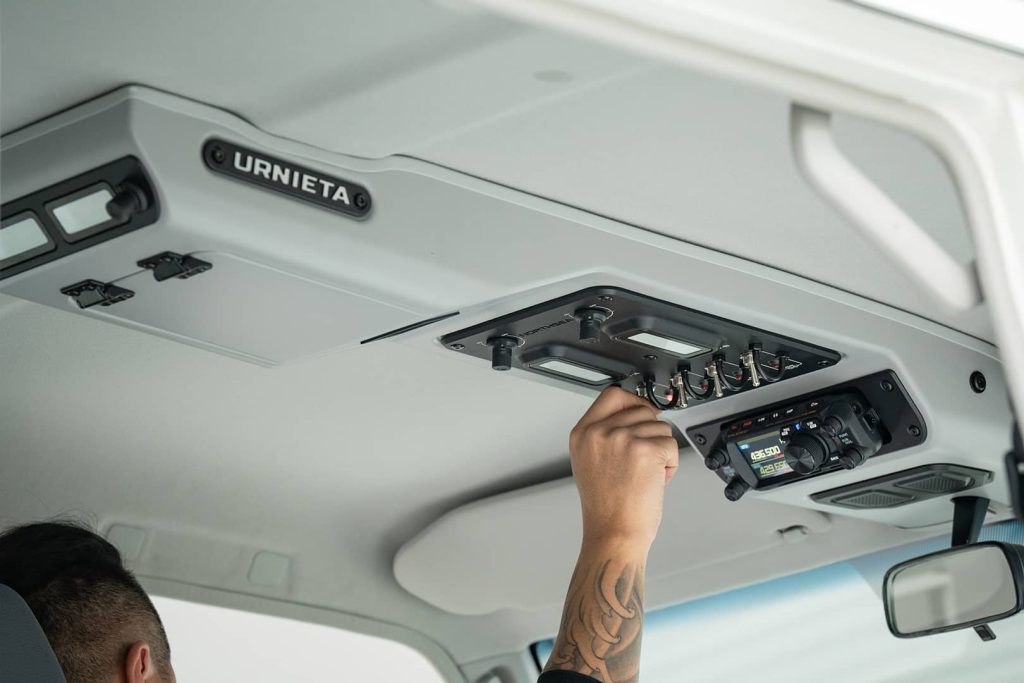
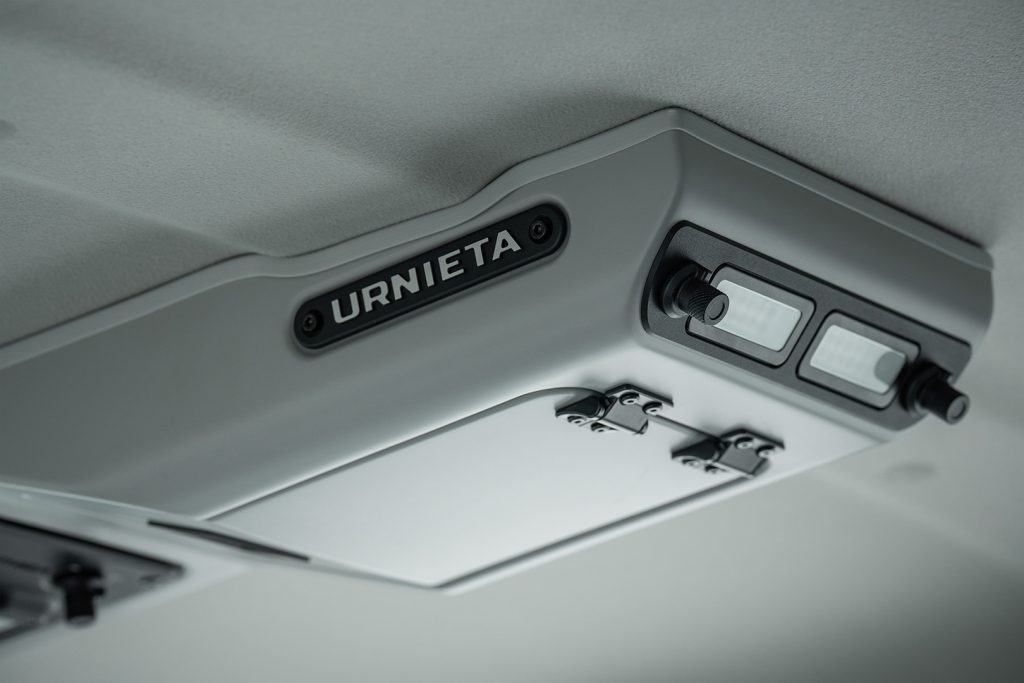
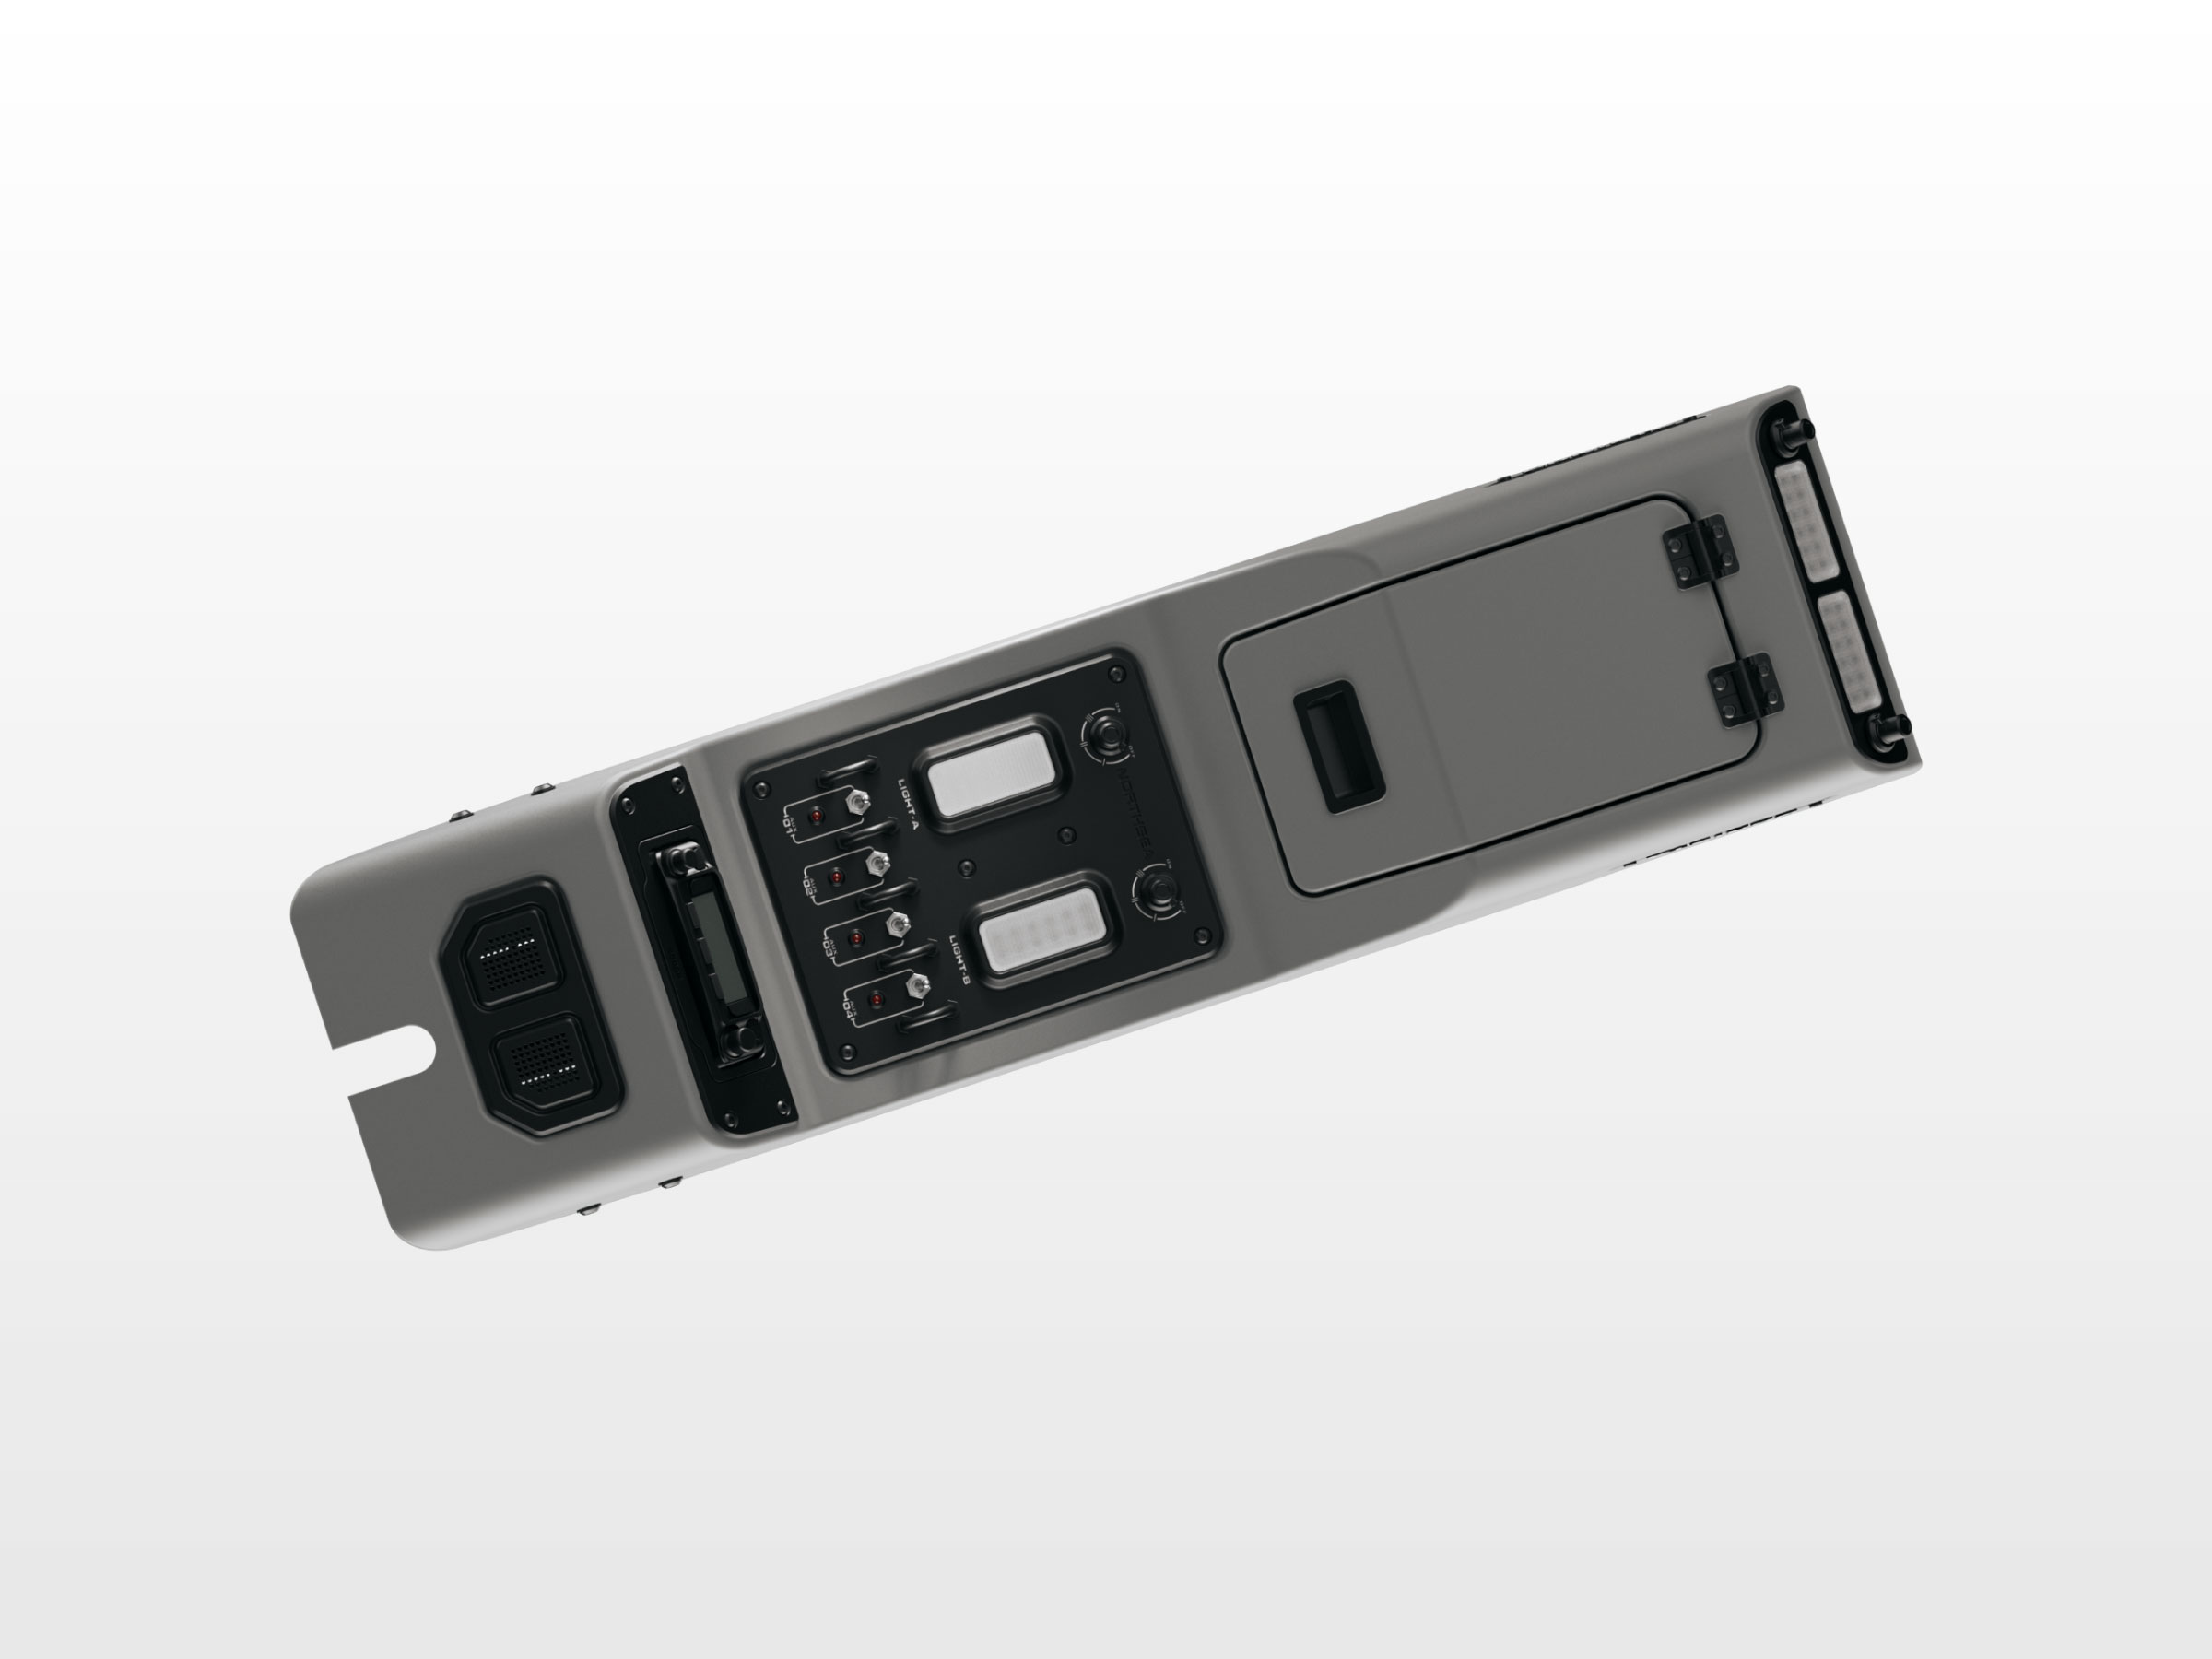
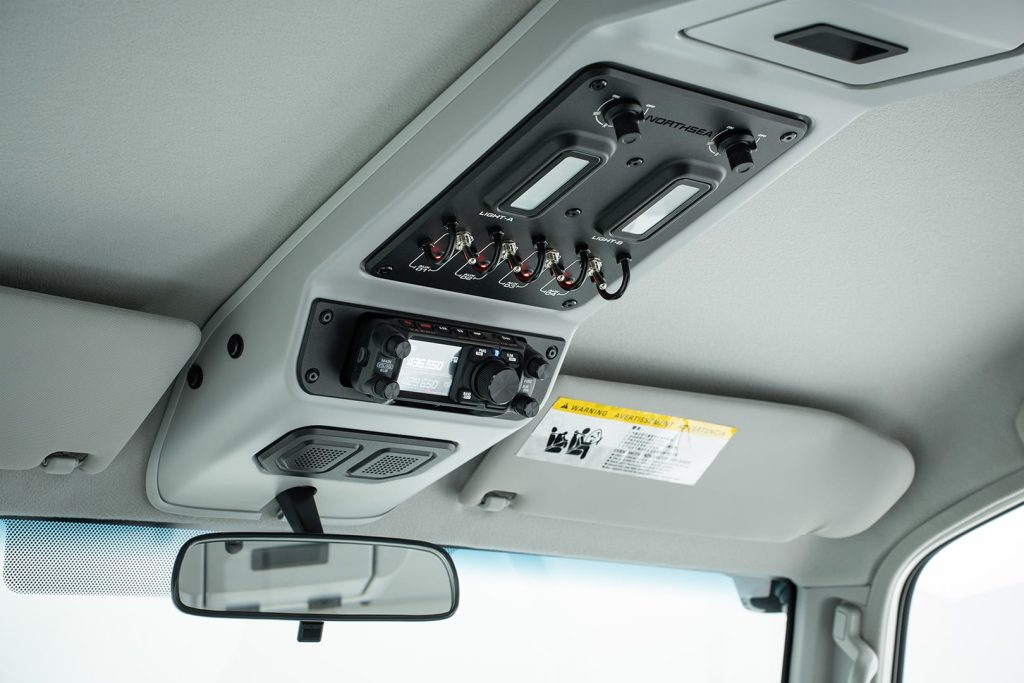
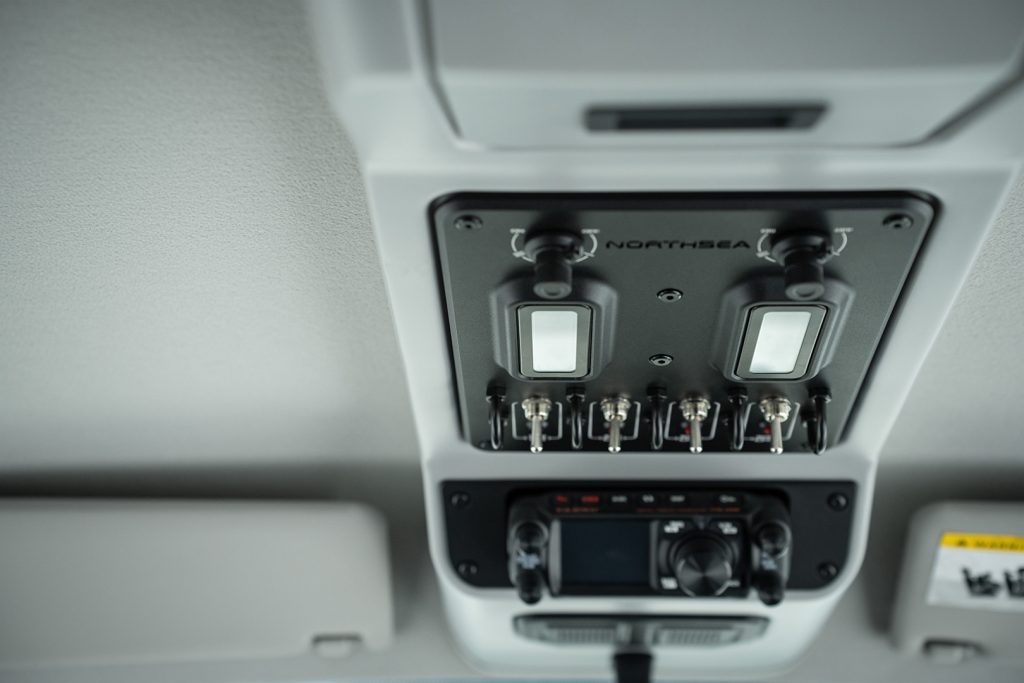
Upgrade your Toyota LC70 with the URNIETA LC70 Series Roof Console designed to enhance convenience and practicality for both off-road and daily use. This system integrates key features such as a secure radio speaker mount, easy-to-use control switches, and adjustable front and rear-row lighting to ensure optimal visibility throughout your vehicle.
Material Aluminum Alloy/Composite Materials
Finish Grey
Weight 4.45KG
Compat. 04LC71 / LC76 / LC79
01
Design Notes

Why this part
exists.

Upgrade your Toyota LC70 with the URNIETA LC70 Series Roof Console designed to enhance convenience and practicality for both off-road and daily use. This system integrates key features such as a secure radio speaker mount, easy-to-use control switches, and adjustable front and rear-row lighting to ensure optimal visibility throughout your vehicle.
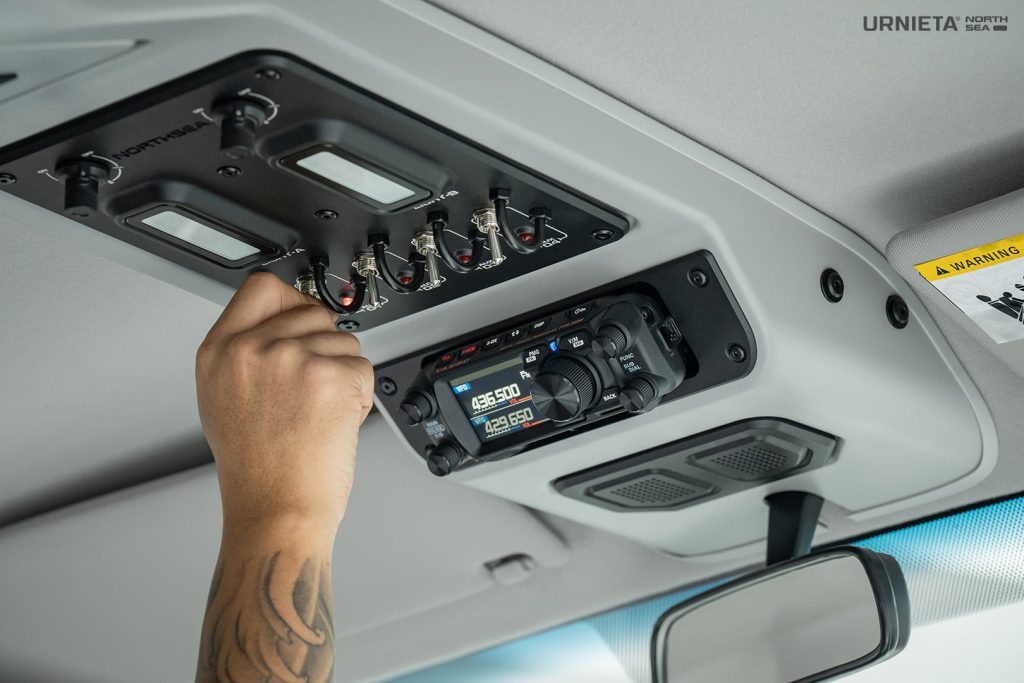
The LC70 cockpit was engineered for a different decade. The dashboard is honest — physical switches, mechanical gauges, no touchscreens. But everything above the windshield is empty. No switch panel. No reading lights. No mount for a UHF or HF radio head. No place to put the things a working truck actually needs above eye level.URNIETA looked at the cockpits that solved this problem fifty years ago — the fighter aircraft overhead panel. Switches grouped by function. Backlit labels. Tactile feedback you can read by touch in the dark. Every system in the aircraft reachable without taking your eyes off the horizon. The overhead panel is where the cockpit becomes a workstation instead of just a cabin

02

The drawing.

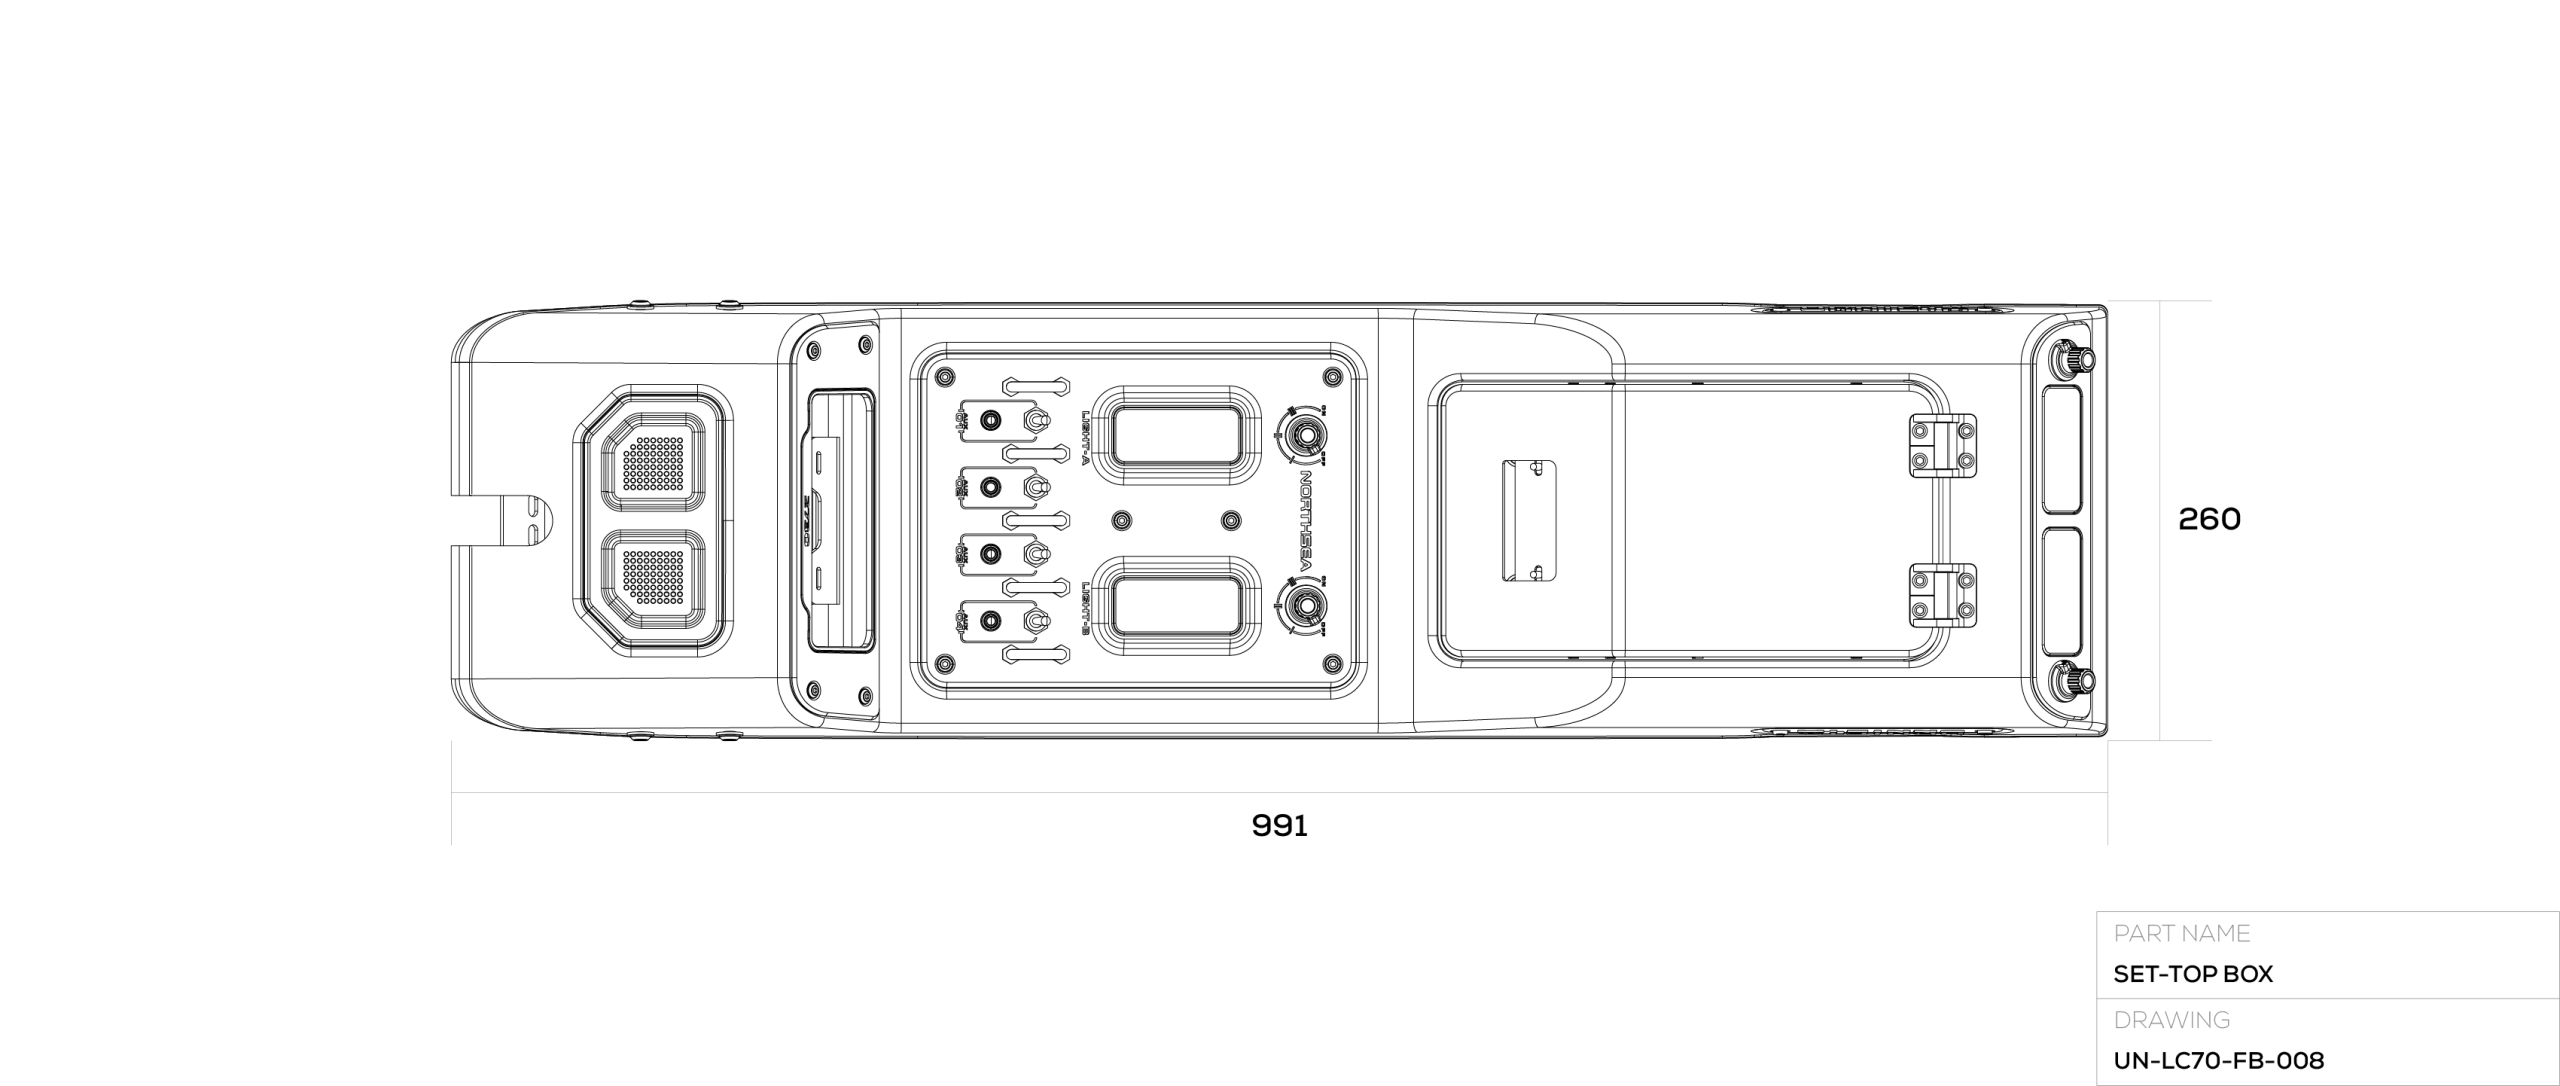
Key dimensions and detailed engineering information to help you quickly understand the product for easier selection.
PART NAME · Roof Console for LC70 UNITS · MM (MM) SCALE · 1 :8 DRAWN BY · Feng REV · 22 / 2024.10
Roof Console for LC70 technical drawing
03

Three things that matter.

We chose the things to optimize for and the things to leave alone. These three define how the module works once you're driving the truck the way it was meant to be driven.
Feature01

INTEGRATED, NOT BOLTED-ON.

Most LC70 interior accessories are a sequence of separate parts — a switch panel here, a speaker mount there, an LED somewhere else. Each one drilled, wired, and fitted in isolation. The URNIETA module is engineered as a single piece: switches, lighting, and radio mount reference the same factory thread points and route through one harness. The cabin reads as one piece because it was drawn as one piece.
Feature02

BUILT FOR DRIVING, NOT FOR SHOWROOMS.

Sealed mechanical switches — not capacitive, not touch-screen — because gloves and dust kill touchscreens. Front-row and rear-row LED panels run on independent dimmer control. A dedicated radio speaker mount accepts standard automotive head units. The module is laid out for a driver running comms, lights, and accessories in motion.
Feature03

STAINLESS & ALLOY, 8 KG.

SUS430 stainless steel for the structural panels — the same grade Toyota uses on the chassis components that don't rust. Aluminum-magnesium alloy for the cosmetic faces, kept light. Total module weight is 8kg installed — light enough that the factory headliner clips don't fatigue, heavy enough to feel solid when you flick a switch.
Field record701023
Product validationReal-world use
Built for practical off-road work
URN-FIELD / ARCHIVE
04 - In the Field
Field use is where product details become visible. Finish quality, mounting stability, and service access matter most after the vehicle leaves the workshop.
URNIETA field archive
05

Vehicle fitment.

Confirm the exact vehicle variant, model year, and market specification before ordering.
LC71 / LC76 / LC79
01 LC71 Land Cruiser 71 2010 — Present Direct Fit →
02 LC76 Land Cruiser 76 2007 — Present Direct Fit →
03 LC79 Land Cruiser 79 Pickup dual-cab 2007 — Present Direct Fit →
06

Installation overview.

A two-person workshop job, completed with standard hand tools and a multimeter. Detailed installation manual ships with the kit and is downloadable in advance.
Workshop install
01

PREPARE VEHICLE

Remove the factory roof console area — front and rear mirrors, trim and centre light. Confirm all supplied parts.
Warning: Always install a relay box to guarantee voltage stability and electrical safety.
INITIAL CHECK
02

BUILD RADIO PANEL

Fit the radio panel bracket and outer cover for your radio (Yaesu 500D, ICOM 2730 or Yaesu 6000R), then connect the 30 cm extension harness (red to ACC, black to negative).
BRACKET FIT
03

MOUNT BRACKET

Install the console bracket with the original mirror screws and lights, fixing the front bracket together with the rearview mirror.
FITMENT CHECK
04

FIT CONSOLE

Fit the edge strip to the console, then secure it with the dedicated screws torqued to spec.
FINAL TORQUE
For installation issues, please contact the URNIETA support team or your authorized dealer. Download Install Manual →
07
In the Crate

What's included.

Package contents may vary by market and production batch. Confirm final packing list before ordering.

1
Radio Mount Main Body
2
Front + Rear Mounting Brackets
1
Edge Trim Strip
1
Radio Outer Panel — 2730
2
Control Head Brackets
2
Handset Extension Cables — 30 cm
3
Control Head & Handset Extension Cables — 5 m
1
Control Head Mounting Screws
complete
1
Mounting Hardware Kit
complete
1
Installation manual, illustrated
1
URNIETA chassis tag
Next Step

Spec it
your way.

Request product details, fitment confirmation, or dealer support from the URNIETA team. We will help route the inquiry to the right regional contact when available.